
How to Wire a Car Lift: A Step-by-Step Guide for Safe and Efficient Installation
Imagine this: you’ve finally decided to outfit your garage with a brand new car lift. You can practically taste the satisfaction of working on your own car, on your own terms. But then reality sets in – you need to wire this beast!
Don’t worry, wiring a car lift might seem intimidating, but with the right guidance, it’s a manageable task for even a novice DIY enthusiast. This guide will provide a comprehensive walkthrough on how to safely and correctly wire your car lift, ensuring years of worry-free operation.
Decoding the Importance of Correct Car Lift Wiring
Before diving into the wiring itself, let’s understand why this step is crucial:
Safety First: A car lift involves suspending heavy machinery overhead. Improper wiring can lead to power surges, shorts, or even complete electrical failure, putting you and your precious vehicle at risk.
Optimal Performance: Correct wiring ensures your car lift receives the right amount of power for smooth, efficient operation, maximizing its lifespan and your peace of mind.
Meeting Code Requirements: Local electrical codes exist for a reason – to ensure safety. Adhering to these codes through proper wiring is not just a legal requirement, but also protects you from potential liabilities.
Powering Up Your Lift: A Step-by-Step Wiring Guide
Now, let’s get down to the nitty-gritty of wiring your car lift. Remember, while this guide provides general instructions, always consult your lift’s specific installation manual and local electrical codes for precise guidelines.
1. Assess Your Power Supply
- Voltage Compatibility: Car lifts come in various voltage configurations, typically 110V, 220V, or even 480V for heavy-duty models. Verify your lift’s voltage requirement and ensure your garage’s electrical system can handle it.
- Circuit Breaker: Your car lift will require a dedicated circuit breaker with the appropriate amperage rating, as specified in the manufacturer’s instructions. This protects your wiring and prevents overloads.
2. Gather Your Tools and Materials
- Wiring: Use copper wiring with the correct gauge (thickness) to handle the amperage of your lift. Consult an electrician or refer to the manufacturer’s instructions for the recommended gauge.
- Conduit: Protect your wiring from damage with appropriate conduit (metal or PVC).
- Junction Box: A junction box provides a safe enclosure for electrical connections.
- Grounding Wire: Essential for safety, the grounding wire directs stray electricity to the ground, preventing shocks.
- Electrical Tape: Used for insulating wire connections.
- Wire Connectors: Ensure secure and reliable wire splices.
- Basic Electrical Tools: Wire strippers, pliers, screwdrivers, and a voltage tester are essential for this job.
3. Run the Wiring
- Plan Your Route: Determine the safest and most direct route to run the wiring from your electrical panel to the lift’s location, considering obstructions and potential hazards.
- Install Conduit: Install the conduit along the planned route, securing it properly to walls or ceilings. This protects the wiring from physical damage.
4. Make the Connections
- Junction Box: Mount the junction box near the lift’s motor unit, providing easy access for connections.
- Wire Connections: Following the lift’s wiring diagram, carefully connect the wires from your power source to the corresponding terminals in the junction box and the lift’s motor unit. Ensure all connections are secure and properly insulated using wire connectors and electrical tape.
- Grounding: Connect the grounding wire to the designated grounding terminal in the junction box and the lift’s motor unit. Also, bond the lift’s metal frame to the grounding system.
5. Testing and Inspection
- Professional Inspection: Before energizing your lift, have a qualified electrician inspect your work to ensure it complies with local codes and safety standards.
- Testing: After receiving clearance, turn on the power and test the lift’s functionality. Start with a light load and gradually increase it while observing for any issues.
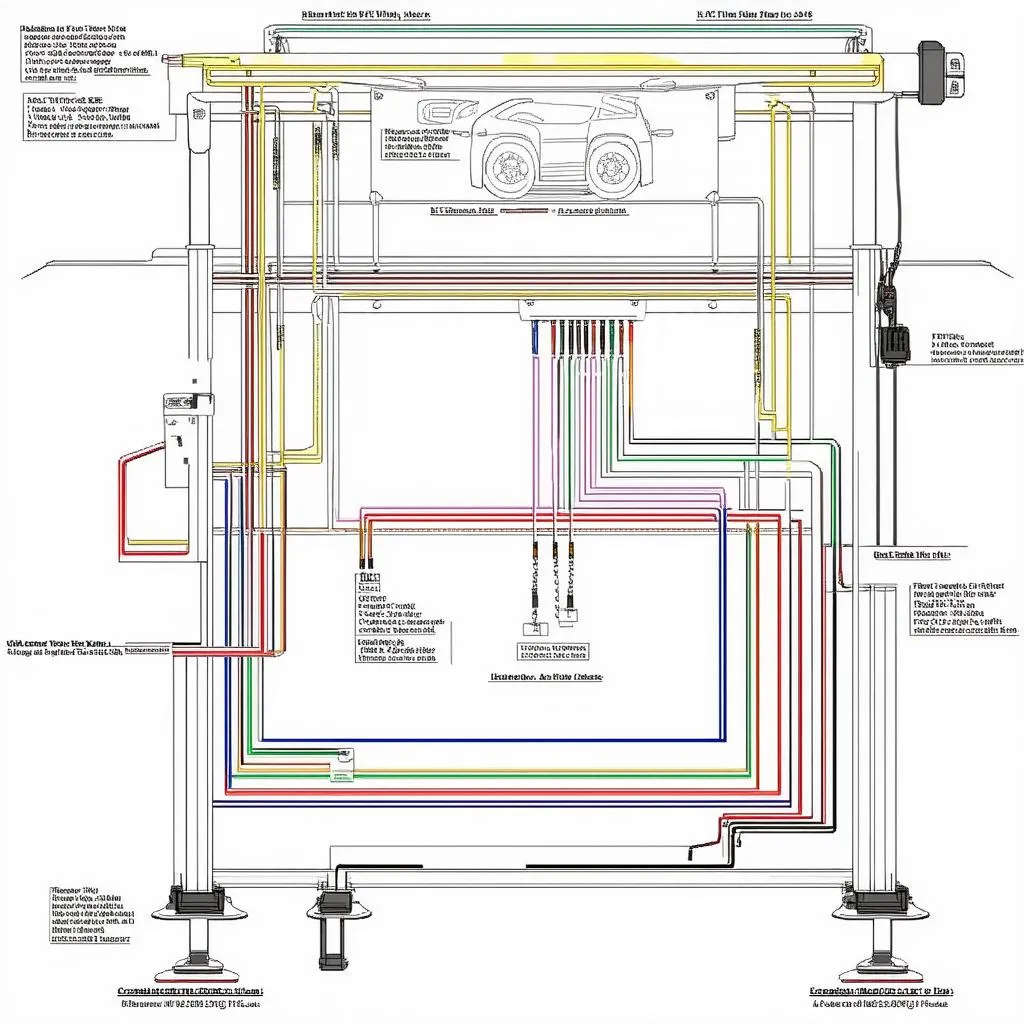 Car Lift Wiring Diagram
Common Car Lift Wiring FAQs
Q: Can I use an extension cord to power my car lift?
A: Absolutely not! Extension cords are not designed for the high amperage draw of car lifts and can overheat, causing a fire hazard.
Q: My lift has a 3-phase motor. Is the wiring process different?
A: Yes, 3-phase wiring is more complex and requires specialized knowledge. It’s crucial to consult with a qualified electrician for safe and correct installation.
Q: What is GFCI protection, and do I need it for my car lift?
A: GFCI (Ground Fault Circuit Interrupter) protection is a safety feature that detects ground faults and instantly cuts off power to prevent electrical shocks. While not always required by code for car lifts, it’s highly recommended for added safety, especially in damp environments.
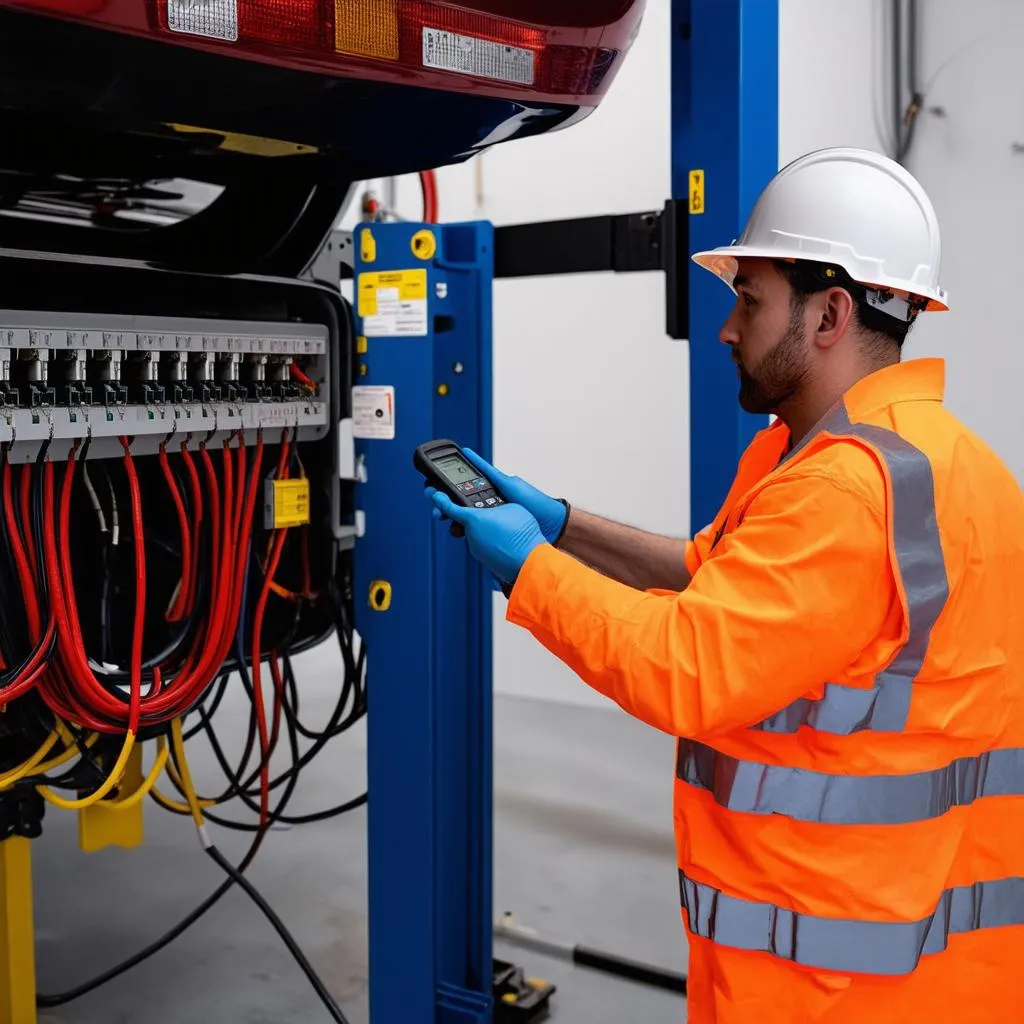 Electrician Inspecting Car Lift Wiring
Need More Help with Your Automotive Projects?
Wiring a car lift is a critical step towards setting up your dream garage workshop. If you’re unsure about any aspect of the electrical work, don’t hesitate to contact a qualified electrician. Remember, safety always comes first!
For more tips and advice on automotive diagnostics, repairs, and upgrades, explore our other articles like this one on BMW E65 Parking Brake Fault or this guide on Using Canon MB 5020 to Scan to My Macbook.
Have questions or need expert assistance with your car lift installation? We’re here to help! Contact our team of automotive specialists via WhatsApp at +84767531508 for 24/7 support and guidance.