Maintaining your vehicle’s engine oil at the proper level is crucial for its longevity and performance. Many drivers, especially those new to car ownership, might feel uncertain about how to check their oil level. This guide will walk you through the process, making it a simple task you can confidently perform at home. While modern cars sometimes feature digital oil level monitors, knowing how to manually check your oil with the dipstick remains a valuable skill.
Please remember: These instructions are general guidelines. Always consult your vehicle’s owner’s manual for the manufacturer’s specific recommendations and procedures for your car model.
Checking your car’s oil level manually is straightforward and usually involves the following steps:
-
Gather Your Supplies: Before you begin, ensure you have a rag or paper towels readily available. Checking your oil can sometimes get a bit messy, and having these on hand will help keep things clean.
-
Park on Level Ground and Ensure the Engine is Cool (or as Recommended): Park your car on a level surface to get an accurate oil level reading. It’s generally best to check the oil when the engine is cold to avoid burns from hot engine components. However, some car manufacturers recommend checking the oil when the engine is warm. Refer to your owner’s manual for the correct procedure for your specific vehicle.
-
Locate the Oil Dipstick: Open your car’s hood and find the oil dipstick. It’s typically easy to identify by its bright handle, often orange or yellow, and is usually located near the engine block.
-
Pull, Wipe, and Re-Dip: Pull the dipstick completely out of its tube. Use your rag or paper towel to wipe all the oil off the dipstick. This clean wipe is essential for getting a clear and accurate reading. Once wiped clean, reinsert the dipstick all the way back into its tube until it is fully seated.
-
Check the Oil Level Reading: Remove the dipstick again, this time to check the oil level. Hold the dipstick horizontally and observe where the oil mark is on the end of the stick. Dipsticks are designed with markings to indicate the correct oil level. Common markings include:
- Two Pinholes: The oil level should be between these two holes.
- “L” and “H” or “MIN” and “MAX” Markings: “L” or “MIN” indicates the low or minimum level, and “H” or “MAX” indicates the high or maximum level. The oil level should ideally be between these marks.
- Crosshatched Area: A simple crosshatched area often signifies the acceptable range. If the oil streak is within this area, your oil level is generally good.
If the oil level is at or below the “L” or “MIN” mark, or below the lower pinhole or crosshatch boundary, it’s time to add oil.
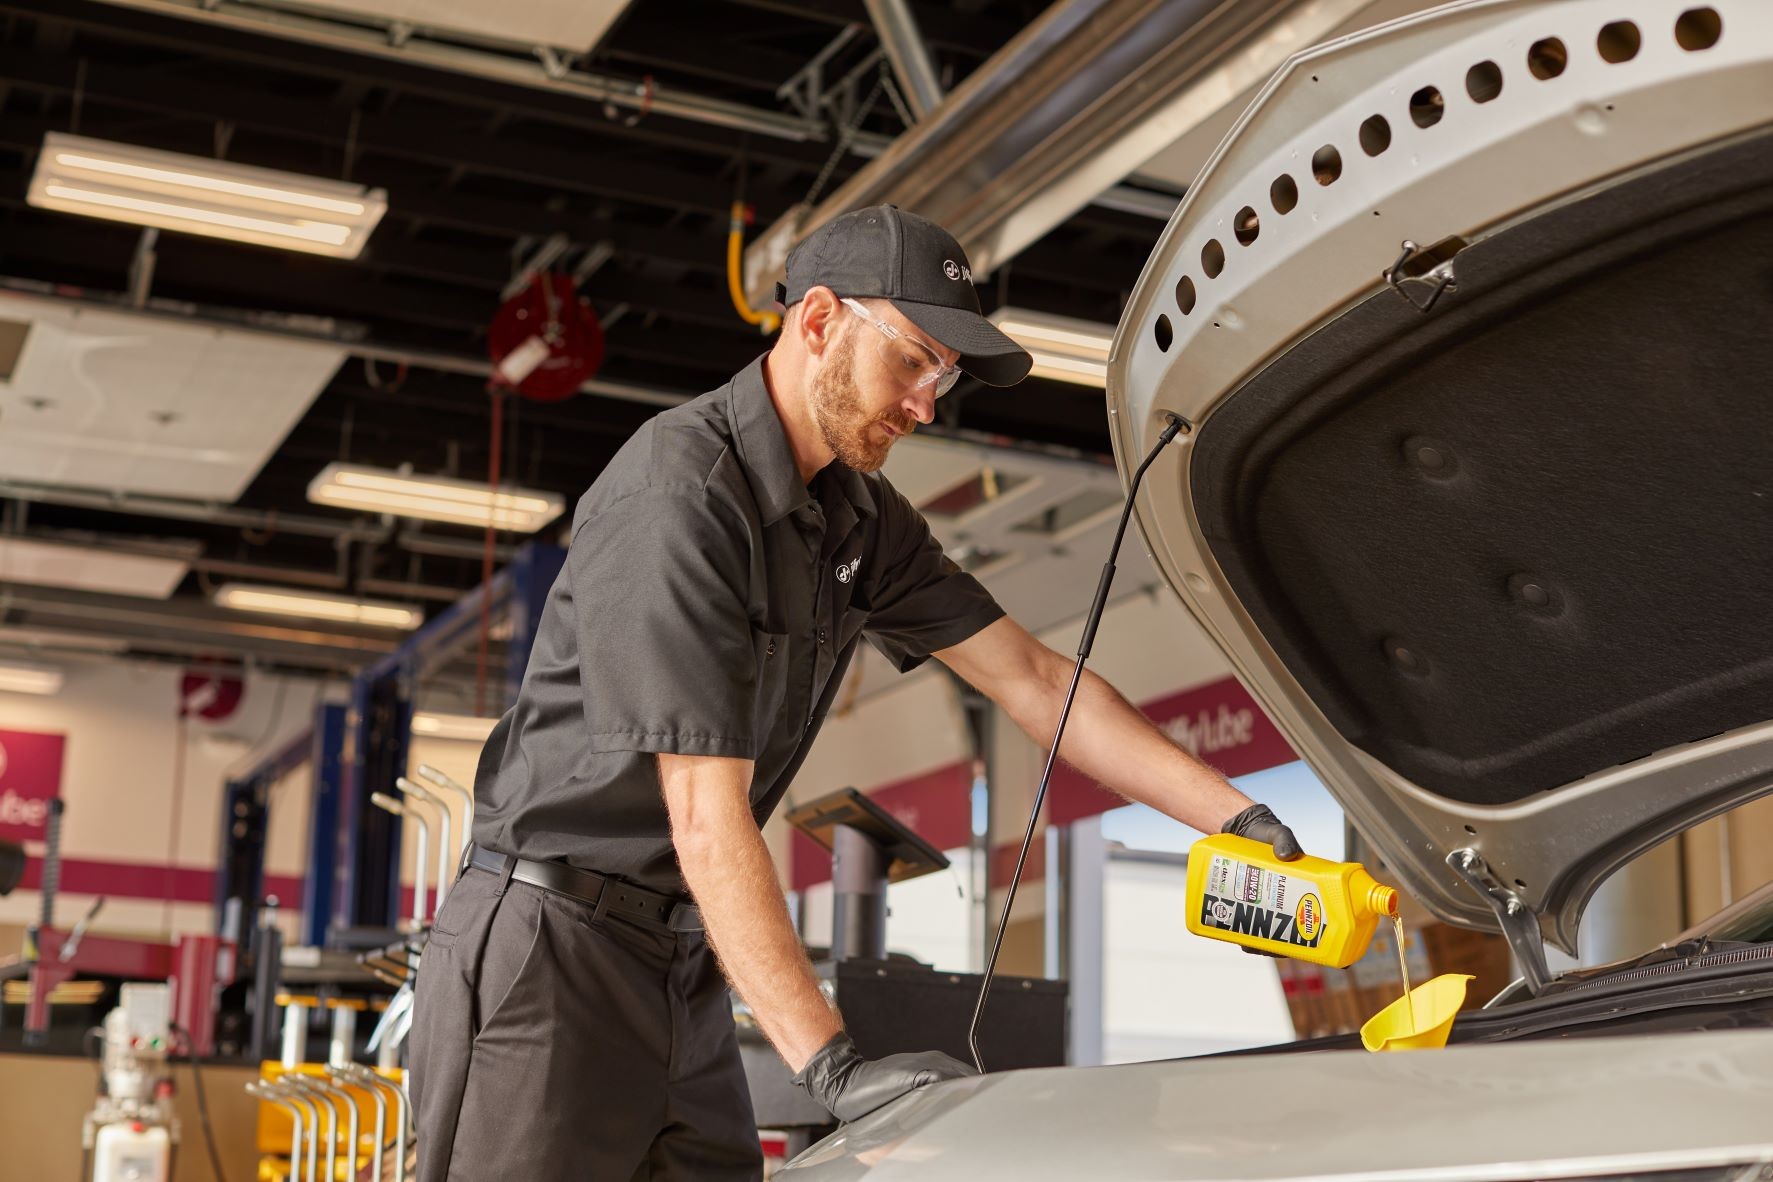 Technician checking car oil level during oil change service at Jiffy Lube
What To Do If Your Car Oil Level is Low
If your dipstick reading indicates a low oil level, or if your car’s dashboard displays a low oil warning, you’ll need to add engine oil. It’s crucial to use the correct type and grade of oil for your vehicle. This information is usually found in your owner’s manual and often on the oil filler cap itself. Common oil grades include 0W-20 or 5W-30. If you are unsure about the right oil for your car, consulting your owner’s manual or visiting a service professional is recommended. For convenience and expert advice, you can always visit your local Jiffy Lube® service center. Trained technicians there can help you determine the correct oil for your vehicle.
How to Add Oil to Your Car (Topping Off)
If you need to add oil, follow these steps carefully:
- Prepare for Adding Oil: Have a funnel ready to prevent spills.
- Locate the Oil Filler Cap: Remove the oil filler cap, which is usually on top of the engine and clearly marked with an oil can symbol or words like “oil” or “engine oil”.
- Add Oil Gradually: Pour in the oil slowly and carefully, a little at a time. Overfilling your engine with oil can be damaging, so it’s best to add in small increments.
- Start with a Half Quart: Begin by adding about half a quart (approximately 16 ounces) of oil.
- Re-Check the Dipstick: Wait for a minute to allow the oil to settle, and then check the oil level again using the dipstick.
- Add More if Needed: If the oil level is still below the acceptable range, add the remaining half of the quart.
- Final Check and Secure Cap: Recheck the dipstick to ensure the oil level is now within the correct range. Replace the oil filler cap securely.
How Often Should You Check Your Car Oil Level?
Regularly checking your oil level is a vital part of routine car maintenance. A good practice is to check your oil level at least once a month or before any long trips. Some drivers even make it a habit to check after every few fuel fill-ups. Consistent oil level checks can help you catch leaks or oil consumption issues early, preventing potential engine damage and costly repairs.
Let Jiffy Lube Help with Your Car Maintenance
If you prefer not to check your oil level yourself, or if you’d like professional assistance, Jiffy Lube® is ready to help. Visit your nearest Jiffy Lube location, and their trained technicians can:
- Check your oil level for you.
- Explain your oil service options.
- Recommend the best motor oil based on your driving habits and vehicle manufacturer specifications.
- Help you decide whether you need a complete oil change or just a top-off.
With every Jiffy Lube Signature Service® Oil Change, you also receive complimentary fluid top-off services on essential fluids between scheduled oil changes (within 3,000 miles of your last service). Regular oil checks and changes are essential for preventative maintenance, helping to protect your engine from wear and tear and ensuring your vehicle runs smoothly for years to come.