Car scratches are an unfortunate reality for vehicle owners. Whether it’s a minor brush against a bush or a more noticeable key mark, scratches can detract from your car’s appearance and value. Fortunately, buffing out scratches is a manageable DIY task that can restore your car’s finish and save you money compared to professional auto body repairs. This guide will walk you through the process of how to buff out scratches on your car, covering everything from assessing the damage to the final polish.
Understanding the type of scratch is crucial before you begin. Car paint typically consists of several layers: clear coat, base coat (color), primer, and the metal body. Most minor scratches only affect the clear coat, which is the outermost protective layer. These are the easiest to buff out. Deeper scratches that penetrate the clear coat and reach the base coat or even the primer will require more aggressive methods and may not be completely removable by buffing alone.
Before you start, gather the necessary tools and materials. Having everything on hand will make the process smoother and more efficient.
Tools and Materials You’ll Need:
- Car Wash Soap and Water: To clean the area and remove dirt and debris.
- Microfiber Towels: For washing, drying, and buffing.
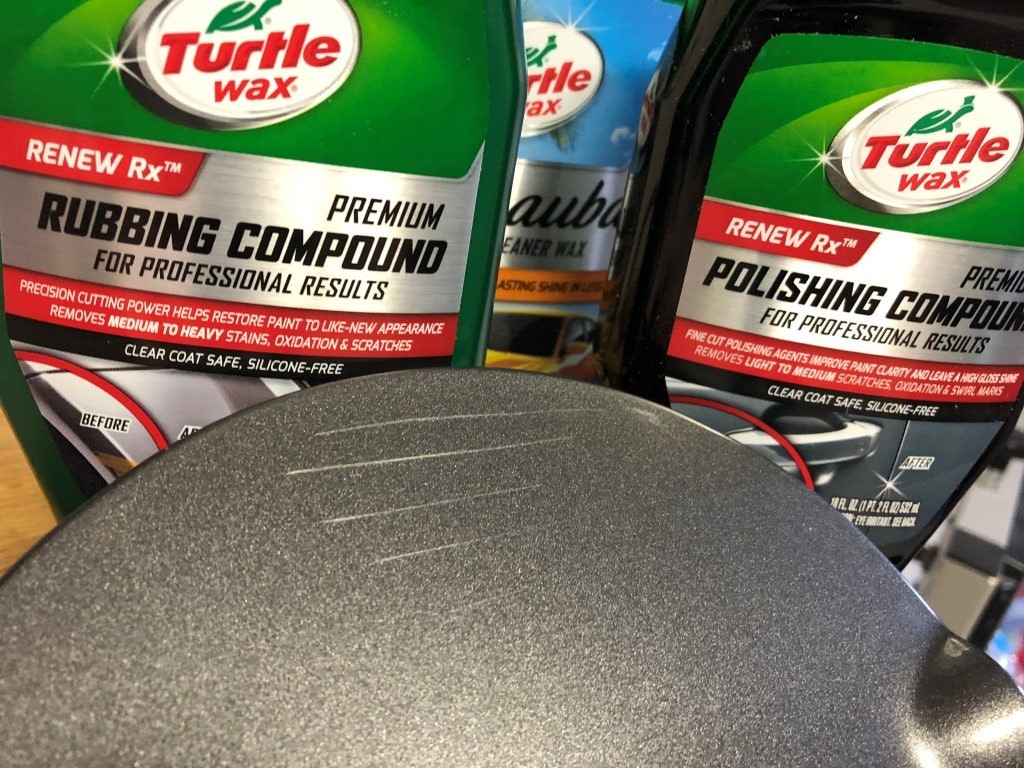
- Rubbing Compound: A mildly abrasive paste to level out clear coat imperfections for light to moderate scratches.
- Polishing Compound: Less abrasive than rubbing compound, used to refine the finish after rubbing compound and enhance shine.
- Wax or Paint Sealant: To protect the newly buffed area and enhance shine.
- Applicator Pads or Sponges: For applying compounds and waxes.
- Optional: Dual Action (DA) Polisher: For more efficient and even buffing, especially for larger areas or deeper scratches.
- Optional: Sandpaper (Very Fine Grit, e.g., 3000 grit): For deeper clear coat scratches, used with extreme caution and wet sanding technique.
Step-by-Step Guide to Buffing Out Car Scratches:
-
Wash and Dry the Area: Thoroughly wash the area around the scratch with car wash soap and water. Rinse well and dry completely with a clean microfiber towel. This removes any dirt or contaminants that could further scratch the paint during buffing.
-
Assess the Scratch Depth: Run your fingernail gently across the scratch. If your fingernail catches in the scratch, it’s likely deeper and may require more than just buffing. If it doesn’t catch, it’s probably a clear coat scratch that can be buffed out.
-
Apply Rubbing Compound (For Light to Moderate Scratches):
- Apply a small amount of rubbing compound to an applicator pad.
- Using firm, even pressure, rub the compound onto the scratched area in a back-and-forth motion, following the direction of the scratch, and then in a circular motion. Work in a small area at a time.
- If working by hand, continue rubbing for a few minutes. If using a DA polisher, use a low to medium speed and make several passes over the scratch.
- Wipe off the residue with a clean microfiber towel.
- Inspect the scratch. If it’s still visible, repeat the rubbing compound application once or twice more.
-
Apply Polishing Compound (After Rubbing Compound or for Very Light Scratches):
- After using rubbing compound (or if you are dealing with very light swirl marks or minor imperfections), switch to polishing compound.
- Apply a small amount of polishing compound to a clean applicator pad.
- Buff the area using the same technique as with the rubbing compound, either by hand or with a DA polisher. Polishing compound is finer and will refine the finish, removing any haze left by the rubbing compound and enhancing the gloss.
- Wipe off the residue with a clean microfiber towel.
-
Wet Sanding for Deeper Clear Coat Scratches (Advanced Technique – Use with Caution):
- Only for deeper clear coat scratches that are not removed by rubbing compound. This is an advanced technique and requires caution to avoid damaging the paint.
- Soak very fine grit sandpaper (3000 grit or higher) in water for a few minutes.
- Keep the area and sandpaper wet throughout the process.
- Gently sand the scratched area in straight lines, following the direction of the scratch. Use very light pressure. Only a few passes are needed.
- The paint will look hazy after sanding. This is normal.
- Immediately follow with rubbing compound and then polishing compound as described in steps 3 and 4 to restore the shine.
-
Apply Wax or Paint Sealant:
- Once the scratch is removed and the area is polished to your satisfaction, apply a coat of wax or paint sealant to protect the newly buffed area and enhance the shine.
- Apply wax according to the product instructions, usually in a thin, even layer, and then buff off with a clean microfiber towel after it hazes.
Tips for Best Results:
- Work in a shaded area: Direct sunlight can cause compounds to dry too quickly and make it harder to work with them.
- Use clean microfiber towels and applicator pads: Dirty materials can re-scratch the paint.
- Don’t apply too much pressure: Let the abrasives in the compounds do the work. Excessive pressure can damage the clear coat.
- Start with the least aggressive method: Begin with polishing compound and move to rubbing compound or wet sanding only if necessary.
- Test in an inconspicuous area: If you are unsure about using a particular product or technique, test it on a hidden area of your car first.
Conclusion:
Buffing out scratches on your car is a rewarding DIY task that can significantly improve your vehicle’s appearance. By understanding the type of scratch, using the right tools and techniques, and taking your time, you can effectively remove minor scratches and restore your car’s paint finish. For deeper scratches that go beyond the clear coat, professional help might be necessary, but for many common scratches, a bit of elbow grease and the right products are all you need to achieve excellent results.