Many car owners find the process of checking their car’s oil level a bit mysterious. If you’re looking to understand how to do it yourself, you’ve come to the right place. Just like professionals at service centers who perform countless oil checks daily, you too can master this essential car maintenance task.
It’s important to remember that these instructions are general guidelines. Always consult your vehicle’s owner’s manual for the specific recommendations from your car’s manufacturer. Your manual is the best resource for understanding the precise procedures for your particular make and model.
The method for checking your car’s oil can differ depending on the vehicle. Modern cars often come equipped with digital dashboard monitors that conveniently display your oil levels, keeping you informed at a glance. However, if your car doesn’t have this feature, or if you prefer a manual check for peace of mind, follow these steps for a general manual oil level inspection:
-
Keep a rag or paper towels handy. Checking your oil can sometimes get a little messy!
-
Ensure your car is parked on level ground. This is crucial for an accurate oil level reading.
-
Make sure the engine is turned off and, ideally, cool. This prevents any risk of burns from hot engine components. While some manufacturers advise checking oil when the engine is warm, it’s generally safer and easier to do when cool. Again, refer to your owner’s manual for your vehicle’s specific instructions.
-
Open your car’s hood and find the oil dipstick. It’s usually identifiable by a brightly colored handle, often orange or yellow, designed for easy access.
-
Pull the dipstick out completely from the engine compartment and wipe off any oil with your rag or paper towel. This initial wipe ensures a clean reading.
-
Re-insert the dipstick fully back into its tube until it’s seated properly. Then, remove it once more. This second removal is to get an accurate measure of your current oil level.
-
Read the dipstick carefully. Dipsticks are designed to clearly show the correct oil level. Your dipstick will likely have one of the following types of markings to indicate the acceptable oil range:
- Two small pinholes
- Markings labeled “L” and “H” (representing Low and High respectively)
- Labels indicating “MIN” and “MAX”
- A crosshatched area.
If the oil streak on the dipstick falls between the two marks, within the crosshatched area, or between the MIN and MAX levels, your engine oil level is generally good. However, if the oil level is below the “Low” or “MIN” mark, it’s an indication that you need to add more oil.
What to Do If Your Car Needs Oil
Whether you’ve received a warning from your car’s digital dashboard monitor or discovered a low reading on your dipstick, it’s crucial to address low oil levels promptly. Always use the specific grade of oil recommended by your vehicle’s manufacturer. This information is typically found in your owner’s manual and is often indicated by codes like 0W-20 or 5W-30. If you’re unsure about the correct oil grade, or if you can’t locate your owner’s manual, it’s best to visit a trusted service center where a trained technician can provide the correct information and assistance.
How to Safely Add Oil to Your Car
Before you begin, make sure you have a funnel to prevent spills and ensure you add oil precisely.
- To add oil, first, locate and remove the oil filler cap. This cap is usually on top of the engine and is often marked with an oil can symbol or words like “oil” or “engine oil”.
- Carefully pour in the oil, adding it gradually. It’s crucial to avoid overfilling, as too much oil can be as damaging to your engine as too little.
- Start by adding about half a quart (approximately 16 ounces) of oil.
- Wait for about a minute to allow the oil to settle and make its way down to the oil pan. Then, check the oil level again using the dipstick.
- If the oil level is still at or below the minimum mark, add the rest of the quart of oil.
- Once you’ve reached the correct oil level, securely replace the oil filler cap. And you’re all set!
We’ve covered the ‘how’ of checking your oil, now let’s discuss ‘when’ you should perform this check. Regular oil level checks are a vital part of routine car maintenance. Aim to make it a habit to check your oil regularly, perhaps even every time you refuel your car. Consistent checks can help you catch potential issues early and maintain your engine’s health.
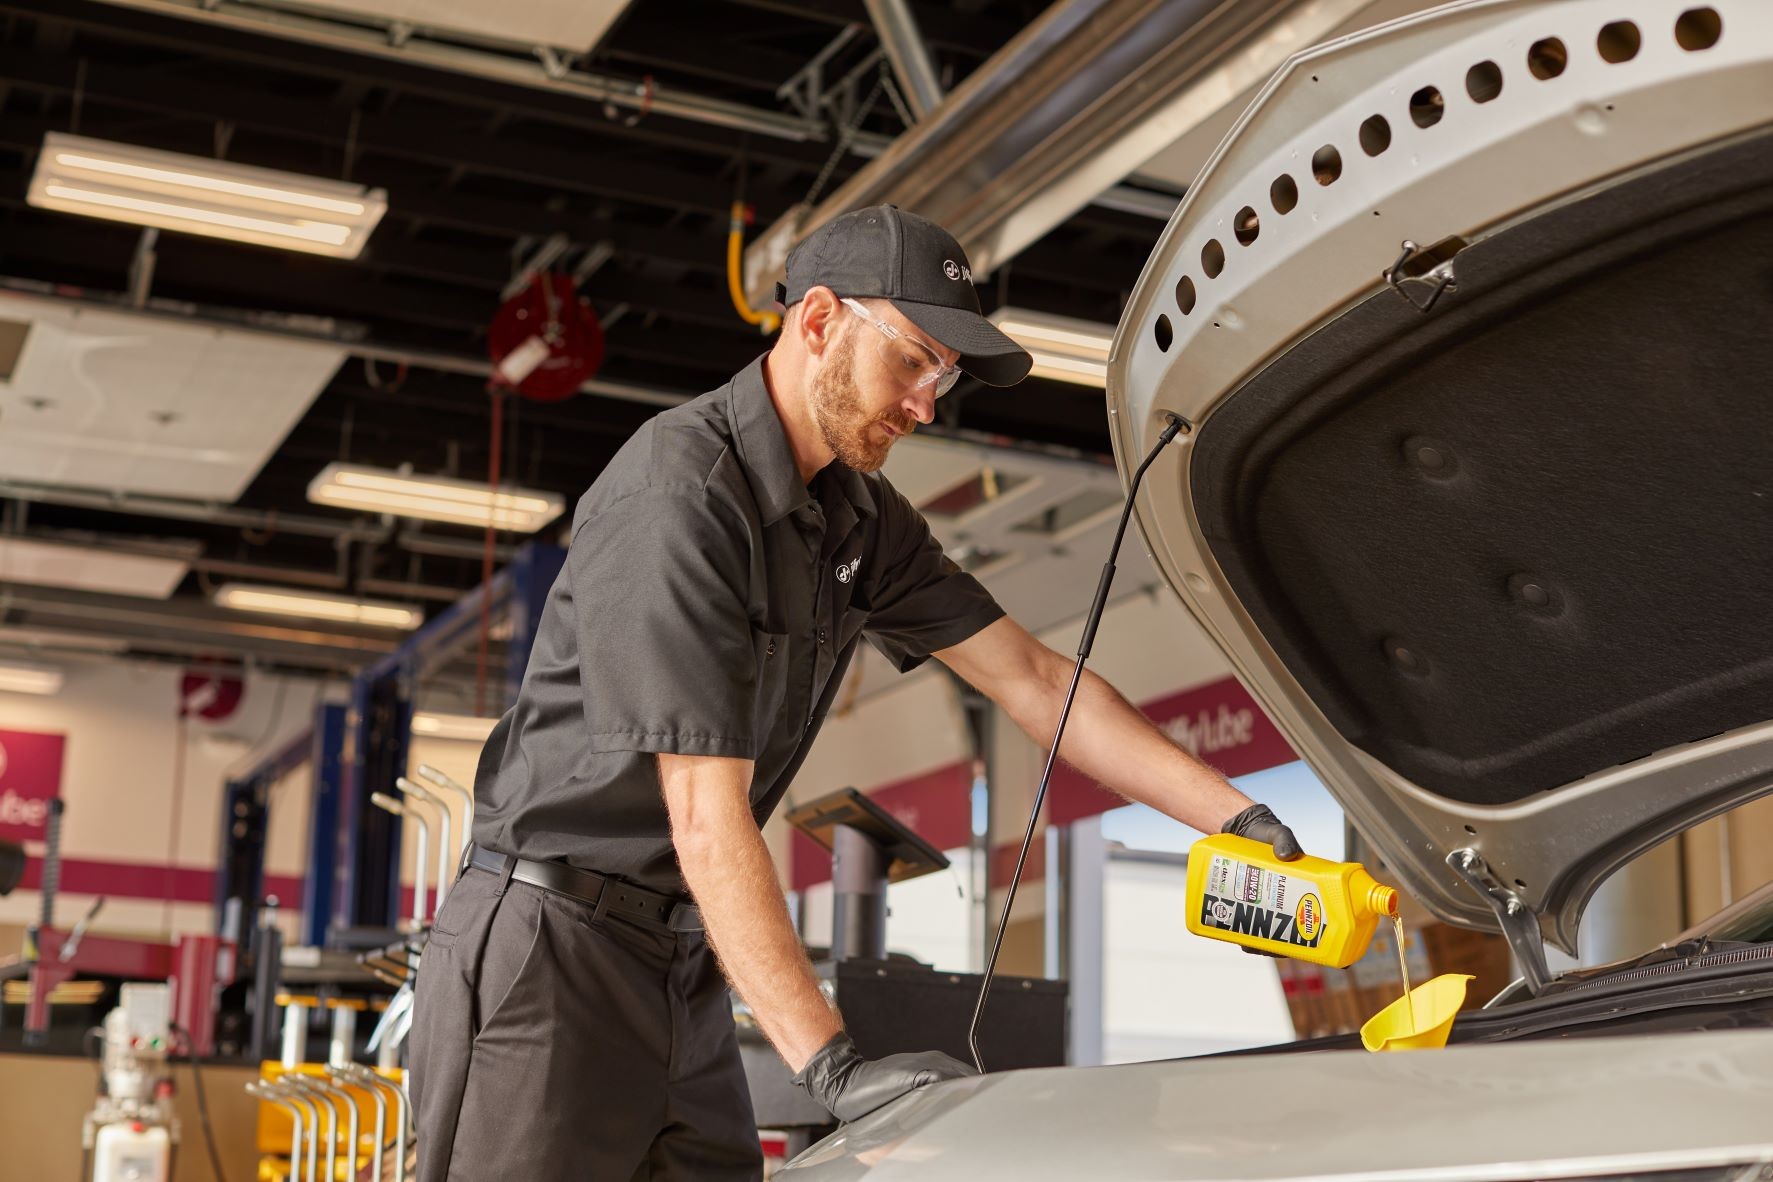 Jiffy lube technician conducting an oil change in order to prevent engine wear
Alt text: A Jiffy Lube technician performs a car oil change to ensure optimal engine performance and prevent premature wear.
When DIY Car Maintenance Isn’t For You
If you prefer not to check your car’s oil yourself, professional help is readily available. Your local service centers are equipped to handle this for you. When you bring your car in, a trained technician can:
- Accurately check your engine oil level.
- Clearly explain your options based on the oil level and condition.
- Inquire about your typical driving conditions and advise on the best motor oil for your specific driving habits and vehicle.
- Help you determine whether your car requires a complete oil change or simply needs an oil top-off.
Good to Know
Many service centers offer complimentary fluid top-off services as part of their oil change packages. This service often includes topping off vital fluids between your regular oil changes, ensuring your vehicle stays properly maintained.
Want to Learn More?
Understanding the importance of regular oil changes is crucial for vehicle longevity. Skipping oil changes can lead to significant engine problems and increased wear. Discover more about why regular oil changes are essential and how they contribute to preventive maintenance.
Disclaimer: Services may vary by location. Always confirm service availability with your local service center or check their website for specific offerings.