Is a crucial interior component of your beloved car, after decades of sun exposure, suddenly crumbled into pieces? You’re not alone. Finding replacement interior parts for older vehicles can be a nightmare – often expensive, rare, and with no guarantee they won’t suffer the same brittle fate. Imagine a world where you could simply press a button and a machine would create an exact replica of the broken part, much like a Star Trek Replicator.
Well, that future is closer than you might think, thanks to the magic of 3D printing.
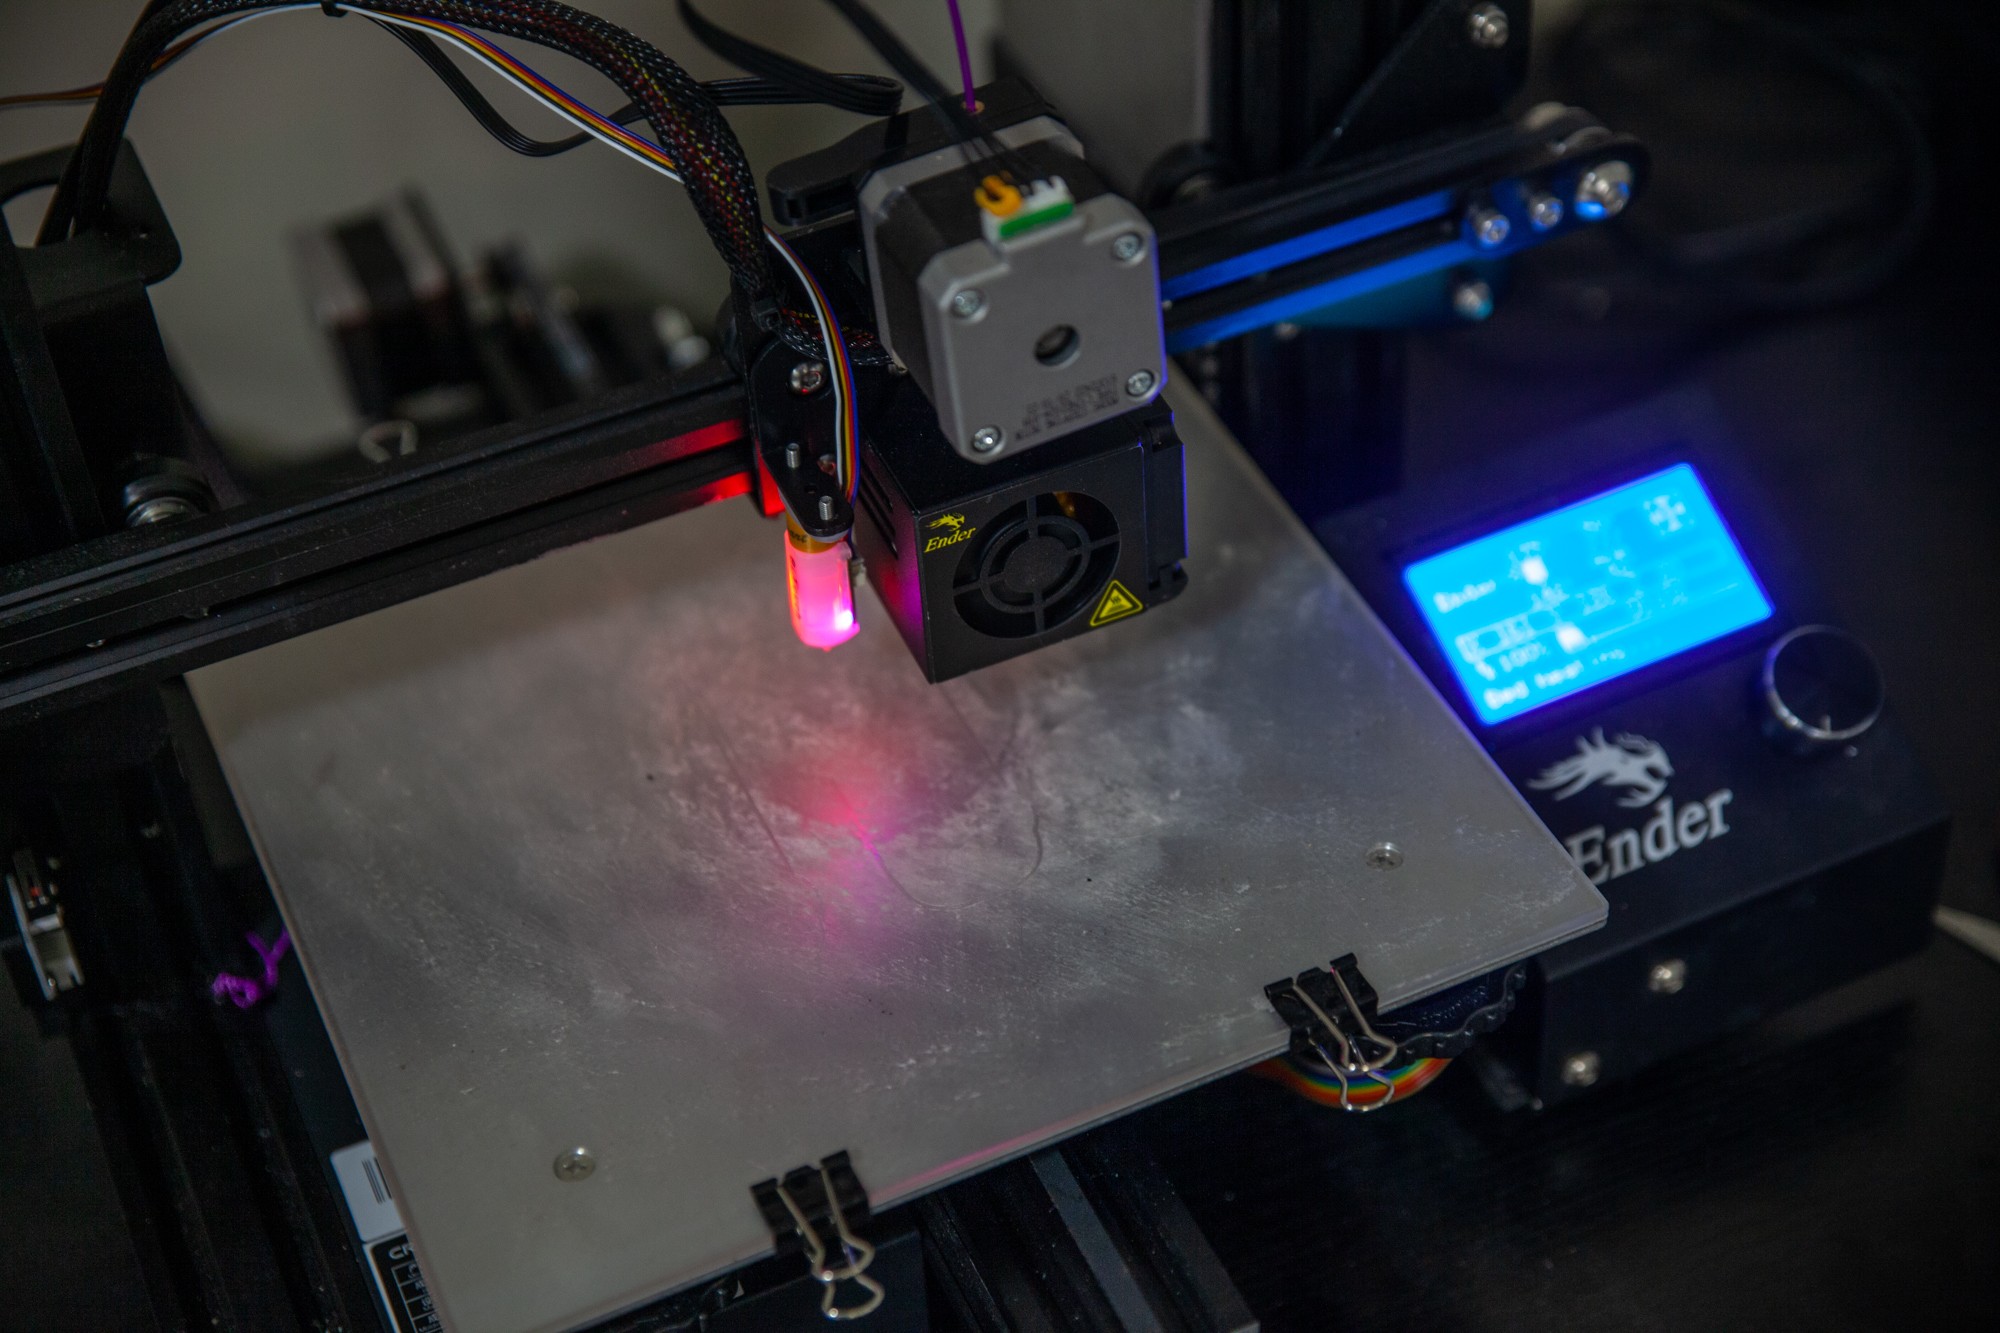
- дома 3D-принтер Ender 3 печатает автомобильные детали, демонстрируя потенциал домашнего 3D-печати для ремонта и настройки автомобилей.
With a 3D printer and a wealth of free, open-source designs available on platforms like Thingiverse, you can fabricate an astonishing range of parts for your car right in your garage. Think about creating a custom cold-air intake, unique body panels, or specialized tools to simplify complex mechanical repairs. There are even enthusiasts who have 3D-printed entire hardtops for their cars! The only real limits are your creativity and your proficiency in the world of 3D modeling. Even established automotive media outlets are embracing this technology to maintain classic cars.
Consumer-grade 3D printers have become increasingly accessible over the last decade, leading to significant cost reductions. A capable 3D printer is now available for under $300, making it a surprisingly affordable addition to any DIYer’s toolkit. This guide will walk you through the essentials of getting started with 3d Printing Car Parts At Home.
Why 3D Print Car Parts at Home?
Before diving into the how-to, let’s explore the compelling reasons to embrace 3D printing for your automotive needs:
- Cost Savings: Sourcing obscure or vintage car parts can be incredibly expensive. 3D printing offers a cost-effective alternative, allowing you to produce replacements for a fraction of the price.
- Part Availability: For classic or niche vehicles, certain parts may be discontinued or extremely difficult to find. 3D printing empowers you to recreate these unavailable components, keeping your cherished car on the road.
- Customization and Personalization: 3D printing isn’t just about replacements; it’s about upgrades. Design and print custom interior trim pieces, personalized badges, or performance-enhancing aerodynamic components to make your car truly unique.
- Rapid Prototyping and Iteration: Working on a car modification project? 3D printing allows for rapid prototyping of new parts. Test fitment, functionality, and design iterations quickly and efficiently before committing to final production in other materials.
- Tool Creation: Beyond car parts themselves, 3D printing excels at creating specialized tools, jigs, and fixtures that can greatly simplify car maintenance and repair tasks.
- 3D-печать специализированного инструмента для работы с ремнем ГРМ Miata, подчеркивающая практическое применение 3D-печати в обслуживании автомобилей.
Choosing the Right 3D Printer for Car Parts
For beginners venturing into 3D printing car parts, Fused Deposition Modeling (FDM) printers are the ideal starting point. This guide will primarily focus on FDM technology as it represents the most accessible and cost-effective option for home use.
FDM printers operate by extruding thermoplastic filaments through a heated nozzle. This molten plastic is deposited layer by layer onto a build plate, precisely following the contours dictated by your digital 3D model. The printer meticulously builds your design from the ground up, layer upon layer, until the final part is complete.
- 3D-принтер Ender-3 в действии, демонстрирующий процесс послойной печати автомобильных деталей.
The FDM printer market offers a wide array of brands and models. A popular and highly recommended entry-level choice is the Creality Ender-3. Its affordability (around $200) and vibrant online user community make it a fantastic option for beginners. While assembly can be a bit intricate, the supportive community provides extensive guides and troubleshooting resources. Furthermore, a thriving aftermarket offers upgrades like glass print beds for improved print quality and auto-leveling sensors to simplify bed leveling.
For those seeking a more streamlined, out-of-the-box experience, printers like the Prusa MINI+ and the Flashforge Finder 3 are excellent alternatives, although they typically come at a slightly higher price point.
- 3D-принтер Prusa MINI+, известный своей надежностью и удобством использования, подходящий для домашней 3D-печати автомобильных деталей.
- 3D-принтер Flashforge Finder 3, предлагающий удобный интерфейс и простоту использования для новичков в 3D-печати автомобильных компонентов.
When selecting your first 3D printer, consider these key factors:
- Budget: Entry-level printers are very affordable, but more expensive models often offer enhanced features and reliability.
- Build Volume: The maximum size of parts you can print. Consider the typical size of car parts you intend to create.
- Ease of Use: Beginner-friendly printers prioritize ease of setup and operation.
- Reliability and Support: Opt for printers with strong user communities and readily available support resources.
Choosing the Right Filament: Materials for Automotive Applications
Once you have your 3D printer, you’ll need filament – the plastic feedstock that your printer melts and forms into parts. The market is saturated with a vast selection of colors and materials. For entry-level machines and automotive applications, the three most common and practical filament types are PLA (Polylactic Acid), ABS (Acrylonitrile Butadiene Styrene), and PETG (Polyethylene Terephthalate Glycol-modified). Each possesses distinct properties, making them suitable for different automotive uses.
-
Рулон нити PLA, обычный материал для 3D-печати, демонстрирующий доступность материалов для домашней печати автомобильных деталей.
-
PLA (Polylactic Acid): PLA is a biodegradable thermoplastic derived from renewable resources like corn starch or sugarcane. It’s incredibly easy to print with, making it ideal for beginners and for creating prototypes and mock-ups. PLA is also very affordable. However, PLA suffers from poor heat and UV resistance, making it unsuitable for under-hood components or exterior parts exposed to direct sunlight. Best uses: Interior trim pieces not exposed to high heat or direct sunlight, prototyping, and non-functional parts.
-
ABS (Acrylonitrile Butadiene Styrene): ABS is a stronger and more heat-resistant plastic than PLA, commonly used in automotive manufacturing (think LEGO bricks and car dashboards). It offers good impact resistance and durability, making it suitable for many automotive applications. However, ABS is more challenging to print than PLA. It is prone to warping and shrinking as it cools, requiring heated print beds and often enclosed printers for best results. Best uses: Interior parts, some exterior parts not subjected to extreme heat, parts requiring higher strength and heat resistance than PLA.
-
PETG (Polyethylene Terephthalate Glycol-modified): PETG strikes an excellent balance between PLA and ABS. It is easier to print than ABS, exhibits good strength and durability, and offers improved heat and UV resistance compared to PLA. PETG is becoming increasingly popular for automotive 3D printing due to its versatility. It is typically more expensive than PLA but often worth the investment for its enhanced properties. Best uses: Versatile material suitable for both interior and exterior parts, parts requiring good strength, durability, and moderate heat resistance.
- Напечатанная на 3D-принтере центральная заглушка из нити PLA, демонстрирующая разнообразие цветов и возможности настройки деталей, доступные при домашней 3D-печати.
Finding and Designing 3D Models for Car Parts
With your printer and filament ready, the next step is to find or create 3D models of the car parts you want to print. Fortunately, a wealth of resources are available:
- Online 3D Model Repositories: Websites like Thingiverse, GrabCAD, and Thangs are treasure troves of free, downloadable 3D models. For popular car models like the Mazda Miata or BMW 3 Series, you’ll find a plethora of user-created designs, ranging from simple interior trim pieces to complex aerodynamic components. Explore these platforms to see if your desired part already exists.
-
Интерфейс веб-сайта Thingiverse, популярного хранилища бесплатных дизайнов 3D-печати, иллюстрирующий доступность ресурсов для домашней печати автомобильных деталей.
-
3D Modeling Software: If you can’t find a pre-existing model for your specific car or part, you’ll need to design it yourself using 3D modeling software. Don’t be intimidated! Free and user-friendly software options are available, along with numerous online tutorials to guide you. Fusion 360 (free for personal, non-commercial use) is a highly recommended and powerful option for beginners. Learning 3D modeling unlocks limitless possibilities, allowing you to create truly custom and unique car parts tailored to your exact needs.
- Интерфейс программы для 3D-моделирования Fusion 360, демонстрирующий программное обеспечение, используемое для создания индивидуальных автомобильных деталей для 3D-печати в домашних условиях.
The 3D Printing Workflow: From Digital Design to Physical Part
Once you have your 3D model, you need to prepare it for printing. This involves a process called “slicing,” which translates your 3D model into instructions that your printer can understand.
-
Slicer Software: Slicer software acts as the bridge between your 3D model and your printer. You import your design file into the slicer, specify your filament material, and adjust various print settings to optimize print quality, speed, and support structures. Popular slicer programs include Cura (often bundled with Ender printers), PrusaSlicer, and Simplify3D. The slicer then “slices” your 3D model into thin horizontal layers and generates G-code, a numerical control programming language that instructs your 3D printer layer by layer.
-
Интерфейс программы Cura slicer, показывающий дизайн центральной заглушки колеса, подготовленный к 3D-печати, иллюстрирующий важный шаг подготовки дизайна к домашней 3D-печати.
- Повернутый вид дизайна центральной заглушки колеса в программе Cura slicer, демонстрирующий настройку ориентации и поддержки для оптимальной 3D-печати в домашних условиях.
-
Настройка параметров печати в программе Cura slicer перед экспортом на 3D-принтер, подчеркивающая настройку параметров для успешной домашней 3D-печати автомобильных деталей.
-
Printing and Monitoring: Once the G-code file is generated, you transfer it to your 3D printer, typically via an SD card or USB cable. Initiate the print, and watch as your car part materializes layer by layer. It’s advisable to monitor the printing process, especially during the initial layers, to ensure proper bed adhesion and identify any potential issues early on. Most printers have a display allowing for on-the-fly adjustments.
- Дисплей 3D-принтера, показывающий параметры печати и элементы управления для регулировки на лету, демонстрирующий интерактивный аспект домашней 3D-печати.
Conclusion: Embrace the 3D Printing Revolution for Your Car
3D printing car parts at home is no longer a futuristic fantasy – it’s a readily accessible and empowering reality for automotive enthusiasts. With affordable printers, a growing library of online resources, and a supportive community, you can take control of your car’s maintenance, customization, and restoration in exciting new ways. From replacing broken trim pieces to creating custom performance enhancements, the possibilities are truly limitless. Dive into the world of 3D printing and unlock a new dimension of DIY automotive innovation right in your own garage.
- Напечатанная на 3D-принтере деталь отделки салона Miata, демонстрирующая возможность домашней 3D-печати для восстановления и настройки интерьера автомобиля.