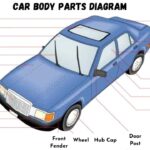
Are you facing the frustration of a broken or irreplaceable car part, especially for a classic or vintage vehicle? For car enthusiasts and repair professionals alike, sourcing obsolete or rare components can be a major headache. But what if you could create those parts on demand, tailoring them to your exact needs? Enter the world of 3d Printed Custom Car Parts, a revolutionary approach that’s transforming auto repair and vehicle modification. Imagine replicating interior trim pieces, crafting custom brackets, or even producing performance-enhancing aerodynamic components, all from your workshop.
The advent of affordable and user-friendly 3D printers has democratized the creation of custom automotive components. No longer limited to scrapyards or expensive custom fabricators, you can now design and produce 3D printed custom car parts with surprising ease and affordability. This guide will walk you through the essentials of using 3D printing to create custom components for your car, from selecting the right printer and materials to finding designs and bringing your automotive visions to life.
Getting Started with 3D Printing for Cars: Choosing Your Printer
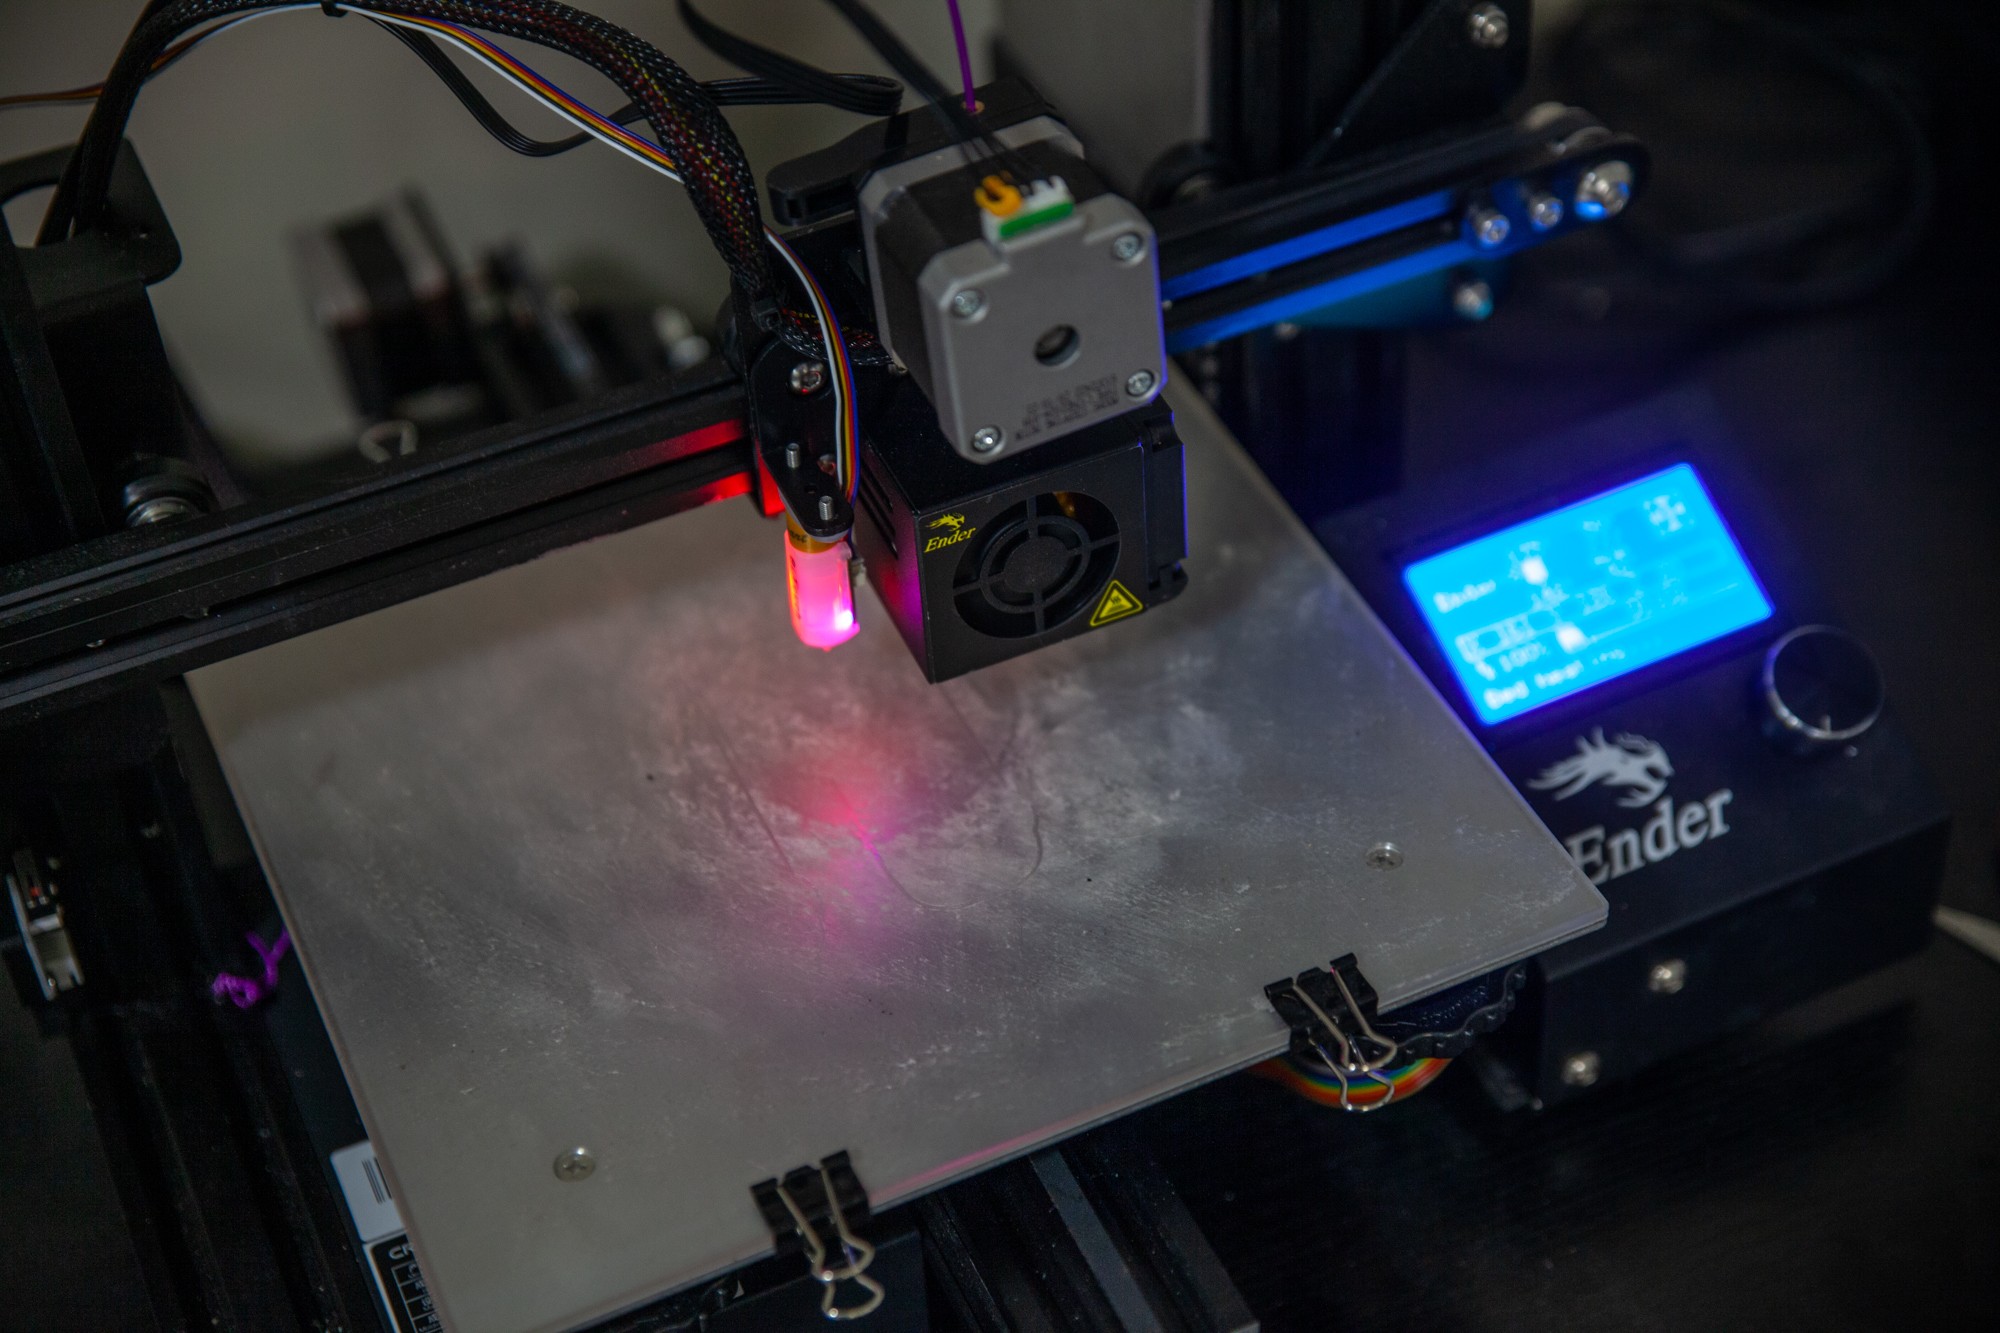
For beginners venturing into the realm of 3D printed custom car parts, Fused Deposition Modeling (FDM) printers are the ideal entry point. These printers are not only cost-effective but also well-suited for creating a wide range of automotive components. FDM technology works by melting plastic filament and precisely layering it to build up your desired 3D design.
Within the FDM printer market, numerous brands and models cater to different budgets and needs. A popular and highly recommended option is the Creality Ender-3. Known for its affordability (around $200) and strong community support, the Ender-3 offers an excellent balance of performance and value for creating 3D printed custom car parts. While assembly can be a bit intricate, the robust online community provides ample guides and troubleshooting assistance. Furthermore, a wealth of aftermarket upgrades are available for the Ender-3, such as glass print beds for improved surface finish or auto-leveling sensors for simplified setup.
For those seeking a more streamlined, plug-and-play experience, printers like the Prusa MINI+ and Flashforge Finder 3 are excellent alternatives, although they typically come at a higher price point. Regardless of the model you choose, an FDM printer provides a fantastic foundation for producing 3D printed custom car parts in your home garage or workshop.
Material Matters: Selecting Filaments for 3D Printed Auto Parts
Once you’ve selected your 3D printer, the next crucial step is choosing the right printing material, or filament. The market offers a vast selection of filaments, each with unique properties. For 3D printed custom car parts, three common plastic types stand out: PLA (Polylactic Acid), ABS (Acrylonitrile Butadiene Styrene), and PETG (Polyethylene Terephthalate Glycol-modified).
PLA is a bio-degradable plastic that’s easy to print and ideal for prototyping and creating mock-ups of 3D printed custom car parts. It’s also the most affordable option, readily available, and comes in a wide array of colors. However, PLA’s limitations lie in its low heat and UV resistance, making it unsuitable for under-hood components or exterior parts exposed to direct sunlight.
ABS filament, on the other hand, offers superior heat resistance and durability, making it a more robust choice for many automotive applications of 3D printed custom car parts. It’s also reasonably priced, not significantly more expensive than PLA. The main challenge with ABS is its printing complexity. ABS tends to warp and shrink during cooling, requiring careful temperature control and often an enclosed printer to achieve successful prints.
PETG strikes a balance between PLA and ABS. It’s easier to print than ABS, while offering improved strength, durability, and heat resistance compared to PLA. This makes PETG a versatile material for a wide range of 3D printed custom car parts. While it’s typically more expensive than PLA and ABS, the enhanced properties often justify the cost for automotive applications requiring greater resilience.
Finding and Creating Designs for Your 3D Printed Car Parts
With your printer and materials ready, the exciting part begins: finding or creating designs for your 3D printed custom car parts. For readily available designs, Thingiverse is an invaluable online repository. This platform hosts a vast library of free, downloadable 3D models, including a substantial collection of automotive parts and accessories. Other excellent resources include GrabCAD and Thangs, offering even more designs and communities for 3D printed custom car parts.
For popular car models like the Mazda Miata or BMW 3 Series, you’ll find a wealth of pre-designed 3D printed custom car parts ready for download. These range from interior trim pieces and repair kits to performance-enhancing components like brake cooling ducts and aerodynamic spoilers. However, for truly unique or specific parts, you may need to venture into 3D modeling yourself.
Fortunately, numerous free and user-friendly 3D modeling software options are available. Fusion 360, for example, offers a powerful yet accessible platform for designing your own 3D printed custom car parts, and it’s free for personal, non-commercial use. Learning 3D modeling expands your capabilities immensely, allowing you to create bespoke parts tailored precisely to your vehicle and needs, unlocking the full potential of 3D printed custom car parts.
From Design to Reality: The 3D Printing Process
Once you have your 3D model, whether downloaded or self-designed, the final step is to prepare it for printing and bring your 3D printed custom car parts to life. This involves using a “slicer” program, software that translates your 3D model into G-code, the language that 3D printers understand.
Popular slicer programs like Cura allow you to import your design file, select your filament material, and fine-tune various print settings. These settings control print quality, speed, layer height, and support structures, allowing you to optimize the printing process for your specific 3d printed custom car parts. After configuring the settings, the slicer converts your design into G-code.
The G-code file is then transferred to your 3D printer, typically via an SD card or USB connection. With the file loaded, you can initiate the printing process and watch as your 3D printed custom car parts materialize layer by layer. The printing time will vary depending on the part’s size and complexity, but the satisfaction of holding a custom-made automotive component in your hands is incredibly rewarding.
3D printing custom car parts offers an empowering solution for automotive enthusiasts and professionals. It provides a cost-effective, accessible, and highly customizable way to address repair challenges, personalize your vehicle, and even innovate with new designs. Embrace the world of 3D printed custom car parts and unlock a new dimension of automotive creativity and problem-solving.