
Tools and Tips for Replacing Injectors on Your 1992 Mercedes 300D
Picture this: you’re cruising down the road in your vintage 1992 Mercedes 300D, the diesel engine humming its familiar tune. But lately, that hum has become a little rough around the edges. Maybe you’re experiencing poor fuel economy, rough idling, or difficulty starting. These are all telltale signs that your fuel injectors might need some attention.
This article dives into the tools and techniques needed for a successful injector replacement on your Mercedes 300D. We’ll explore the process, address common questions, and offer expert advice to make this DIY project as smooth as possible.
Deciphering the Task: What Does Replacing Injectors Entail?
Before we delve into the specifics, let’s understand why this repair is crucial. Fuel injectors are the gatekeepers of your engine, precisely metering the fuel that mixes with air for combustion. Worn or clogged injectors can disrupt this delicate balance, leading to performance issues and decreased fuel efficiency.
Replacing them ensures your engine receives the optimal fuel supply, restoring its power and efficiency. This task involves removing the old injectors, installing new ones, and ensuring they are correctly calibrated and sealed to prevent leaks.
Tools of the Trade: Equipping Yourself for Success
Now, let’s talk tools. While the 1992 300D is a mechanically straightforward car, some specialized tools make the injector replacement process smoother:
- Injector Removal Tool: This tool is essential for safely extracting the injectors without damaging the surrounding components. Many variations exist, but the most common for a 1992 300D is a slide hammer type.
- Socket Set and Wrenches: You’ll need a variety of sockets and wrenches to loosen and tighten bolts and fittings related to the fuel lines and injector hold-down clamps.
- Torque Wrench: Proper torque is crucial when tightening injector hold-down clamps. A torque wrench ensures you apply the correct force, preventing leaks and damage.
- New Injectors: This might seem obvious, but ensure you purchase the correct fuel injectors for your 1992 Mercedes 300D.
- Injector Lines: Consider replacing the injector lines while you’re at it. These lines can become brittle with age and are prone to leaks.
- Cleaning Supplies: Keep your workspace and tools clean with shop rags, brake cleaner, and a catch pan for any spills.
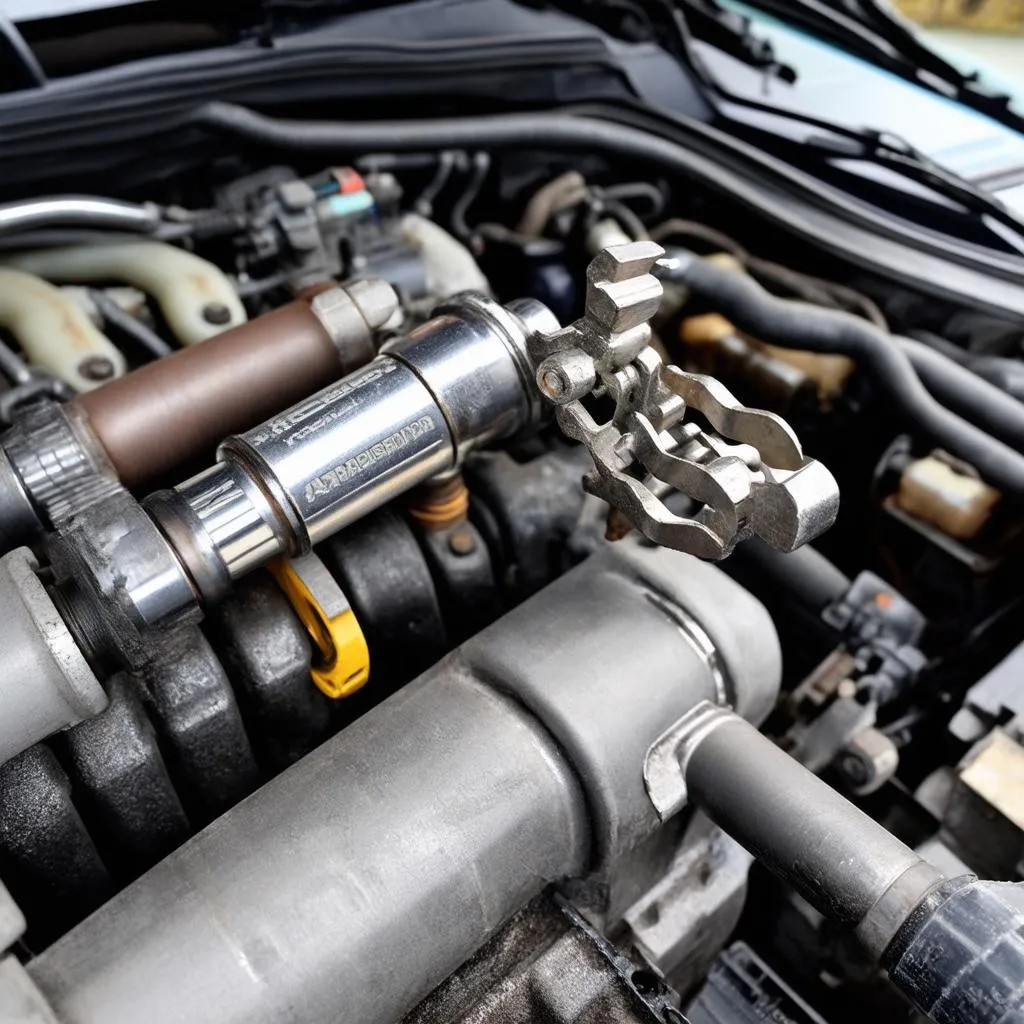
 Injector removal tool
Navigating the Process: A Step-by-Step Guide
- Preparation is Key: Begin by disconnecting the negative battery terminal. This safety precaution prevents any electrical mishaps during the process. Next, relieve the fuel system pressure. You can usually find a test port on the fuel rail.
- Accessing the Injectors: The injectors on the 1992 300D are located beneath the intake manifold. While you might be able to access them without removing the manifold, it’s generally recommended to remove it for better visibility and ease of operation.
- Disconnecting the Fuel Lines: Carefully disconnect the fuel lines connected to each injector. Use a wrench to hold the line nut while loosening the fitting at the injector. Be prepared for some fuel spillage.
- Extracting the Injectors: Attach the injector removal tool according to its instructions and carefully extract each injector. Avoid using excessive force, as this can damage the injector bore.
- Installing the New Injectors: Lubricate the O-rings on the new injectors with clean engine oil and carefully insert them into their respective bores. Ensure they are seated correctly before proceeding.
- Connecting the Fuel Lines: Reconnect the fuel lines to the new injectors, ensuring they are properly tightened.
- Reassembly and Priming: Reinstall the intake manifold and any other components you removed. Prime the fuel system by turning the ignition key to the “on” position for a few seconds without starting the engine. Repeat this several times to purge any air from the lines.
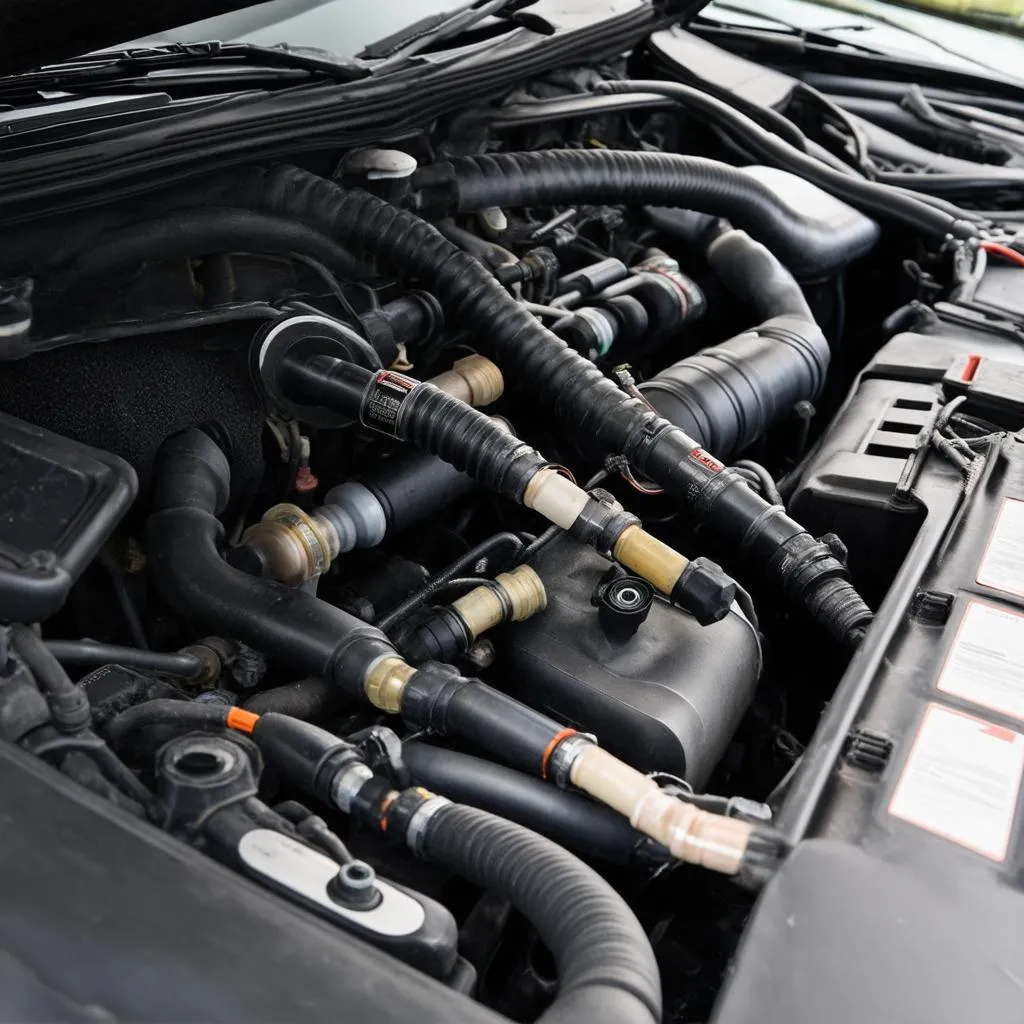 Fuel lines
Troubleshooting Common Issues
- Engine Won’t Start After Replacement: This is often due to air trapped in the fuel lines. Bleeding the system should resolve the issue.
- Rough Idle After Replacement: This could indicate a leaking injector or an improperly seated injector. Double-check all connections and injector seating.
- Fuel Smell After Replacement: A fuel smell suggests a leak. Inspect all fuel lines and connections thoroughly.
Seeking Expert Advice
While this guide provides a comprehensive overview, each car is unique, and unforeseen challenges may arise. If you’re uncomfortable with any part of this process, don’t hesitate to seek professional assistance. A qualified mechanic can ensure the job is done correctly and safely.
Need More Help?
If you’re facing challenges diagnosing or fixing car problems, don’t hesitate to contact us via Whatsapp at +84767531508. Our team of auto repair specialists is available 24/7 to provide support and guidance.
Exploring Further: Related Questions and Resources
- What are the symptoms of bad fuel injectors?
- Can I clean my fuel injectors instead of replacing them?
- How often should I replace my fuel injectors?
- What is the difference between OEM and aftermarket injectors?
For insights into these questions and more, browse our website, cardiagxpert.com, your trusted resource for automotive diagnostics and repair information.
 Engine bay
We hope this guide empowers you to tackle this repair confidently. Remember, a well-maintained car is a joy to drive.