That sinking feeling when a crucial interior component of your beloved classic car crumbles after decades of sun exposure is all too familiar. Finding replacement parts for older vehicles can be a nightmare, often involving expensive searches for used components that may be equally fragile. Imagine a world where you could simply create a brand-new, exact replica of that broken part with the push of a button, much like the futuristic replicators from science fiction.
It might sound like a dream, but the reality is closer than you think. The advent of the 3d Car Parts Printer has brought this capability to workshops and garages around the world.
With a 3D printer and access to a wealth of free, open-source design files from platforms like Thingiverse, you can fabricate an astonishing range of components for your vehicle. From custom cold-air intakes to bespoke body panels and specialized tools for complex repairs, the possibilities are truly expansive. Enthusiasts are even pushing the boundaries further, with some successfully 3D printing entire hardtops for cars like the Miata. The primary limitations are your creativity and your proficiency in the realm of 3D modeling. Even established automotive media outlets have embraced this technology to maintain vintage vehicles, as seen in Hagerty’s own Redline Rebuild series.
The accessibility of consumer-grade 3D printers has increased dramatically over the last decade, leading to significant cost reductions. A reliable 3d car parts printer can now be acquired for under $300, making it an affordable and invaluable addition to any automotive enthusiast’s toolkit. This guide will walk you through the essential steps to embark on your own journey of 3D printing car parts.
Understanding the 3D Car Parts Printer: FDM Technology
For this introductory guide, we’ll concentrate on Fused Deposition Modeling (FDM) printers. FDM technology stands out as the most accessible entry point for individuals venturing into 3D printing car parts, and it represents the most common type used by beginners. When considering a 3d car parts printer for your garage, FDM is an excellent starting point.
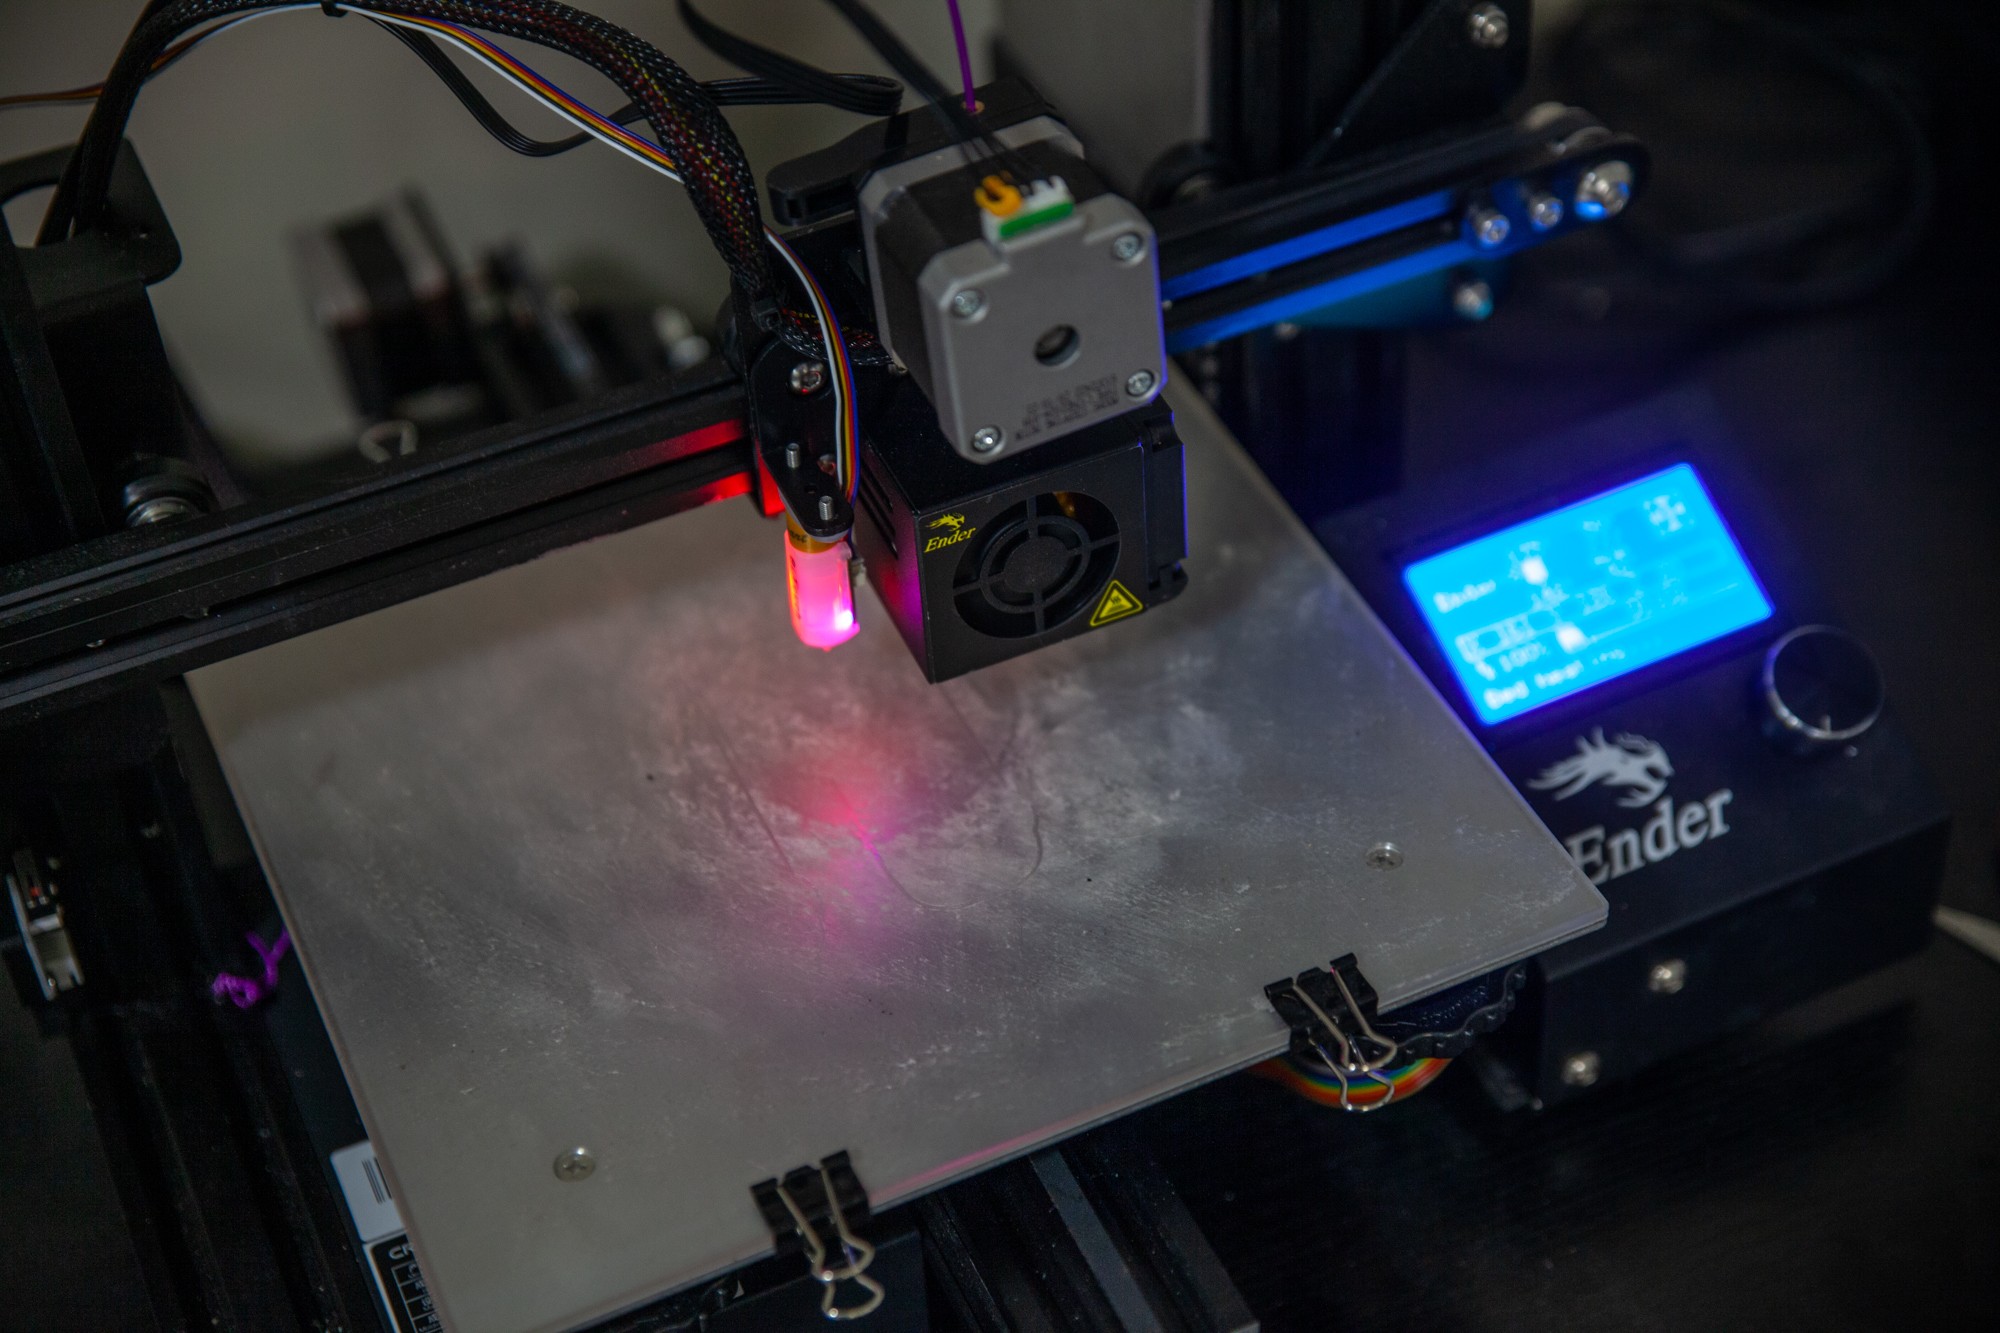
FDM printers operate by feeding thermoplastic filaments through a heated nozzle. This process melts the plastic filament within the heated chamber and precisely extrudes it onto a build platform, known as the print bed. The print head, containing both the heating chamber and nozzle, moves according to the digital blueprint of your car part, depositing molten plastic layer upon layer. This additive manufacturing process builds your design from the ground up, layer by successive layer, until the complete three-dimensional object is formed.
The FDM printer market offers a wide array of brands and models. The Creality Ender-3 is a particularly popular option, lauded for its affordability (around $200) and the strong community support it enjoys. While assembling the Ender-3 can be somewhat complex due to numerous components and somewhat unclear instructions, the active online community provides extensive assembly guides, troubleshooting assistance, and recommendations for aftermarket enhancements. These upgrades for the Ender-3 range from glass print beds for improved print surface consistency to automatic bed leveling sensors that reduce manual calibration time.
While other highly-regarded printers are available and suitable for creating car parts, they often come with a higher price tag than the Ender-3. Models such as the Prusa Mini Plus and the Flashforge Finder 3 are positioned as more user-friendly “plug-and-play” experiences, potentially simplifying the initial setup and operation for newcomers to 3D printing. Choosing the right 3d car parts printer depends on your budget, technical comfort level, and desired print quality.
Selecting the Right Material for Your 3D Printed Auto Parts
Once you’ve chosen your 3d car parts printer, the next crucial step is selecting the appropriate printing filament. Online retailers offer a dizzying variety of colors and materials. For entry-level FDM machines, the three most common and readily printable plastic filaments are PLA (Polylactic Acid), ABS (Acrylonitrile Butadiene Styrene), and PETG (Polyethylene Terephthalate Glycol-modified). Each material possesses distinct characteristics, advantages, and disadvantages that make them suitable for different automotive applications.
PLA is an excellent choice for creating prototypes and mock-ups. It’s inexpensive, typically around $20 for a standard 1-kg spool, and widely accessible. However, PLA exhibits poor resistance to heat and UV radiation, rendering it unsuitable for under-hood or exterior car parts that are exposed to high temperatures or direct sunlight.
ABS filament, on the other hand, boasts superior strength, heat resistance, and wear resistance, making it well-suited for many automotive applications. It’s also competitively priced, not significantly more expensive than PLA. However, ABS can be more challenging to print with, as it tends to shrink and warp during the cooling process, requiring careful temperature control and potentially an enclosed printer for best results.
PETG strikes a balance between PLA and ABS. It’s easier to print than ABS, while offering greater strength and durability compared to PLA. As expected, PETG typically comes at a higher cost than PLA. Ultimately, the best filament for your 3d car parts printer will depend on the specific application, required durability, and environmental conditions the printed part will endure.
Finding and Creating Designs for 3D Printed Car Parts
With your hardware and materials sorted, you’ll need designs to print. Thingiverse, a vast online repository of freely available 3D models, should be your first destination. Other platforms like GrabCAD and Thangs also offer extensive libraries of 3D designs. If you own a popular vehicle model, such as a Miata or a BMW 3 Series, you’ll likely find a plethora of downloadable designs. These can range from door panel repair components and brake cooling ducts to pedal spacers, cupholders, and shifter boot trims.
If you can’t locate pre-existing designs for your specific car or part, you’ll need to embark on 3D modeling the component yourself. Numerous free software programs and online tutorials are available to guide you through the process of 3D design, even if you’re a complete beginner. Fusion 360, offered free for personal, non-commercial use, is a highly recommended option. Mastering 3D modeling expands your capabilities significantly, allowing you to create truly custom car parts and overcome the limitations of pre-existing designs. This skill unlocks the full potential of your 3d car parts printer.
The 3D Printing Process: From Design to Physical Part
Before initiating the printing process on your 3d car parts printer, you must convert your 3D model into a language the printer understands, called GCODE. This is where slicer software comes into play. Slicer programs, installed on your computer, allow you to import your 3D design file. Within the slicer, you specify your filament material, adjust print settings to fine-tune print quality and speed, and configure other parameters. The slicer then automatically translates your design file into GCODE, the language of your 3D printer. Finally, you export the GCODE file to your printer, typically via an SD card or USB cable. Once loaded, you can initiate the print and witness your digital design materialize into a physical component. If everything proceeds smoothly, you can take pride in your first successful 3D printed car part.
After a hiatus from 3D printing due to a printer malfunction, revisiting the technology for this article rekindled my enthusiasm. The tangible realization of a part designed virtually, emerging from the 3d car parts printer as a physical object, is deeply rewarding. Especially when the conventional alternatives are more expensive and potentially more difficult to source.
Good luck and happy modeling to all aspiring automotive 3D printing enthusiasts!