Dealing with broken or missing interior car parts can be a real headache for any car owner. After years of sun exposure and wear and tear, plastic components inside your vehicle are prone to cracking, fading, or completely breaking. Finding replacements, especially for older or classic cars, can be difficult and expensive. Used parts are often overpriced and may be just as fragile as the originals. Imagine if you could simply create a brand new, perfect replica of that broken piece with the push of a button, just like the replicators from Star Trek.
Well, with the advent of affordable 3D printing technology, this idea is closer to reality than you might think.
A user-friendly Ender 3 3D printer, perfect for creating custom interior car components.
3D printing, also known as additive manufacturing, allows you to create three-dimensional objects from a digital design. This technology has become increasingly accessible to hobbyists and DIY enthusiasts, particularly in the automotive world. Forget scouring junkyards or paying exorbitant prices for vintage plastic trim; now you can fabricate your own interior car parts right in your garage. From simple knobs and clips to intricate trim pieces and custom consoles, the possibilities are vast. Beyond interior components, car enthusiasts are even 3D printing cold-air intakes, bespoke body panels, and specialized tools for complex repairs. One resourceful individual even 3D-printed an entire hardtop for a Miata! The only real limits are your creativity and your proficiency in the realm of 3D modeling. Even established automotive media outlets are embracing this technology to maintain classic vehicles.
The beauty of 3D printing for car parts lies in its affordability and accessibility. Consumer-grade 3D printers have become significantly more budget-friendly over the last decade, making them a valuable addition to any DIYer’s toolkit. For under $300, you can acquire a capable 3D printer and begin your journey into creating custom car components. This guide will walk you through the basics of using 3D printing to repair and customize your car’s interior.
Why 3D Printing is Revolutionizing Car Interior Repair
3D printing is not just a novelty; it’s a game-changer for automotive repair and customization, especially when it comes to interior components. Here’s why:
- Cost-Effectiveness: Replacing small plastic interior parts can sometimes cost a surprising amount of money, especially if they are specific to your car model or are considered vintage. 3D printing allows you to produce these parts for just the cost of the plastic filament, which is typically very inexpensive.
- Customization and Personalization: Want to add a unique touch to your car’s interior? 3D printing empowers you to design and create custom parts that perfectly match your style and needs. Whether it’s a custom phone mount, a unique gear shift knob, or personalized dashboard trim, 3D printing allows for unparalleled personalization.
- Availability of Obsolete Parts: For classic or older vehicles, finding replacement interior parts can be nearly impossible. Manufacturers discontinue production, and junkyards may not have what you need in good condition. 3D printing offers a solution by allowing you to recreate these obsolete parts, keeping vintage cars on the road and looking their best.
- Ease of Use and Accessibility: Modern 3D printers are becoming increasingly user-friendly. With online resources, tutorials, and communities, getting started with 3D printing is easier than ever. You don’t need to be a manufacturing expert to design and print your own car parts.
A 3D-printed custom tool designed to simplify a Miata timing belt replacement, showcasing the versatility of 3D printing beyond just cosmetic parts.
Getting Started: Essential Tools and Materials
To begin 3d Printing Interior Car Parts, you’ll need a few key components: a 3D printer, filament (the printing material), and a digital design of the part you want to create.
Choosing the Right 3D Printer
For printing car interior parts, especially as a beginner, Fused Deposition Modeling (FDM) printers are the most practical and accessible option. FDM printers work by melting plastic filament and extruding it layer by layer to build the desired object. They are affordable, relatively easy to use, and offer a good balance of print quality and speed.
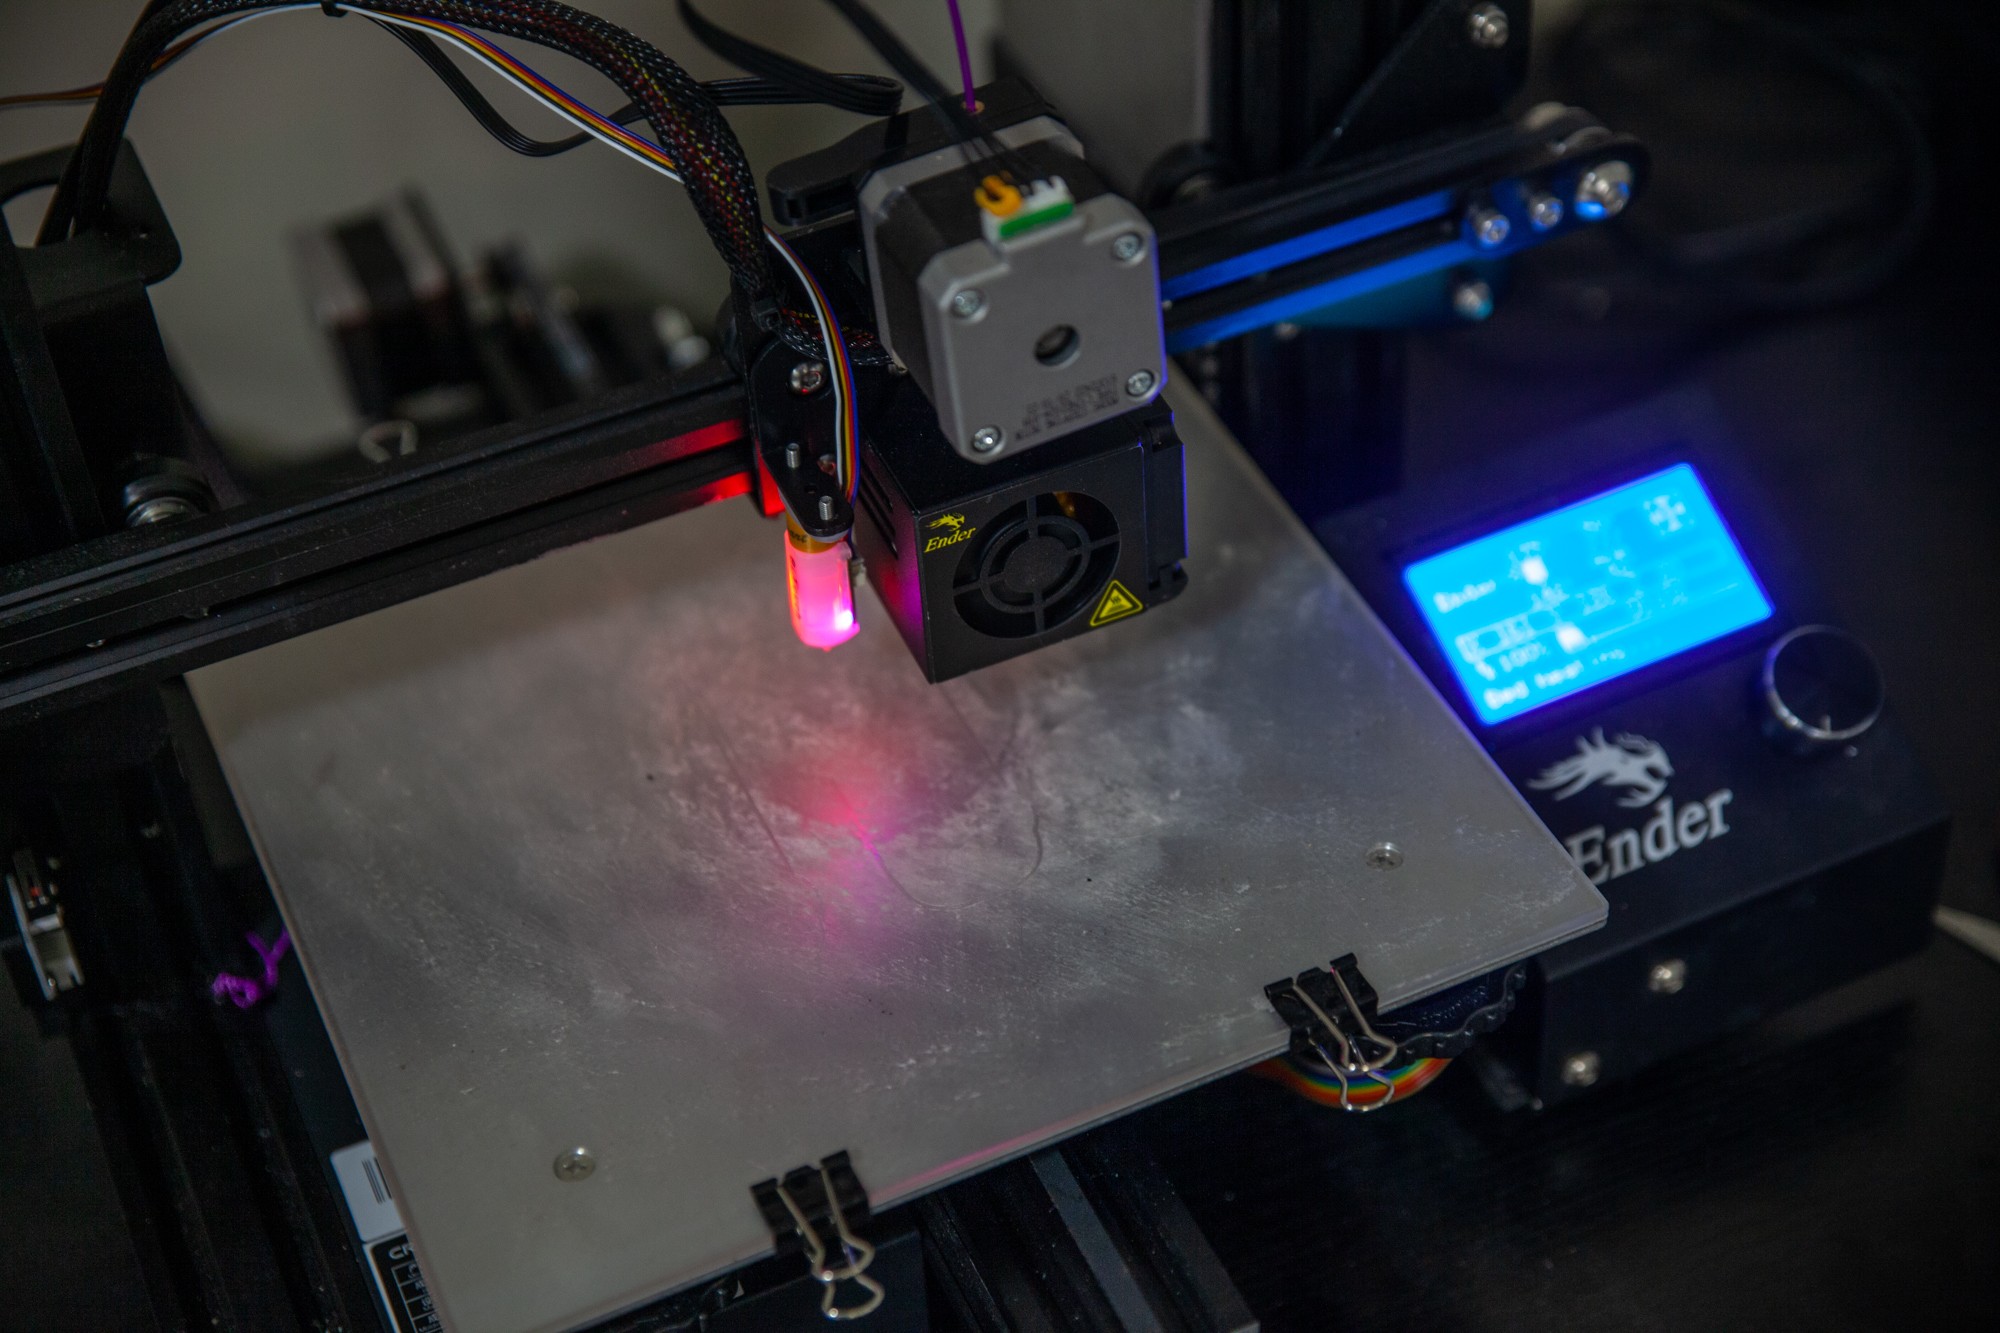
An Ender-3 FDM printer in operation, demonstrating the layer-by-layer construction process of 3D printing.
The Creality Ender-3 is a popular entry-level FDM printer, praised for its low cost (around $200-$300) and large, active user community. While assembly can be a bit involved, the online community provides ample guides and support. The Ender-3 is also highly customizable, with numerous aftermarket upgrades available.
For a more user-friendly, out-of-the-box experience, consider printers like the Prusa Mini Plus or the Flashforge Finder 3. These models, while slightly more expensive (around $400), often offer easier setup and operation.
The Prusa MINI+, a compact and reliable 3D printer known for its ease of use and print quality in the desktop category.
The Flashforge Finder 3, another user-friendly option, known for its enclosed design and plug-and-play functionality.
Selecting Filament for Interior Parts
The type of plastic filament you choose is crucial, as it will determine the durability, heat resistance, and appearance of your printed car part. The most common types of filament suitable for interior car parts are:
- PLA (Polylactic Acid): PLA is a biodegradable thermoplastic derived from renewable resources like cornstarch or sugarcane. It’s easy to print, inexpensive, and comes in a wide range of colors. PLA is ideal for prototyping and parts that are not exposed to high temperatures. However, PLA has poor heat resistance and can warp or deform in direct sunlight or hot car interiors.
- ABS (Acrylonitrile Butadiene Styrene): ABS is a stronger and more heat-resistant plastic than PLA, making it more suitable for many automotive applications. ABS is commonly used in car interiors by manufacturers. However, ABS is more challenging to print than PLA as it is prone to warping and requires higher printing temperatures and often an enclosure to maintain consistent temperature.
- PETG (Polyethylene Terephthalate Glycol-modified): PETG is a good middle ground, combining the ease of printing of PLA with improved strength and heat resistance closer to ABS. PETG is more durable than PLA and has better UV resistance, making it a versatile choice for interior car parts. It is also less prone to warping than ABS, making it easier to work with for beginners. While slightly more expensive than PLA, PETG is often the best overall choice for 3D printing car interior components that need to withstand some heat and wear.
A standard spool of PLA filament, showcasing the typical packaging and form factor of 3D printing materials.
Finding or Creating 3D Models for Car Interiors
Once you have your printer and filament, you’ll need a digital 3D model of the part you want to print. You have two main options: finding pre-made models online or designing your own.
Online Repositories for 3D Models
Several online platforms host vast libraries of free and paid 3D models, including a growing collection of car parts. Popular repositories include:
- Thingiverse: A massive repository of user-created 3D models, with a significant number of automotive parts, especially for popular car models like Mazda Miata or BMW 3 Series. You can find designs for everything from door panel repair clips to custom cup holders.
- GrabCAD: A more professional-oriented platform with a large library of CAD models, including many automotive designs.
- Thangs: A 3D model search engine that aggregates models from various repositories, making it easier to find what you need.
The Thingiverse website interface, a popular online platform for discovering and downloading free 3D model designs.
Designing Your Own Parts
If you can’t find a pre-made model for your specific car or part, or if you want a truly custom design, you’ll need to create your own 3D model. While this might sound daunting, user-friendly 3D modeling software is available, and numerous online tutorials can guide you through the process.
Fusion 360 is a popular, powerful, and free (for personal, non-commercial use) CAD (Computer-Aided Design) software that is well-suited for designing functional parts. Learning to design your own parts opens up endless possibilities for customization and repair, allowing you to create solutions for unique problems and truly personalize your car’s interior.
Autodesk Fusion 360 software, a powerful tool for designing 3D models of car parts and other objects.
The 3D Printing Process: From Model to Finished Part
Once you have your 3D model, the next step is to prepare it for printing and then run your 3D printer.
Slicing Software
To make your 3D model printable, you need to use a “slicer” program. Slicer software converts your 3D model into G-code, a language that 3D printers understand. The slicer divides your 3D model into thin layers and generates the instructions for the printer to create each layer.
Cura is a popular and free slicer software that is compatible with most FDM printers. In the slicer software, you can adjust various settings, such as layer height, print speed, infill density, and support structures, to optimize the print quality and strength for your specific part and filament. You also specify the filament material in the slicer settings.
The Cura slicer software interface, displaying a 3D model of a center cap loaded and ready for slicing and print preparation.
A rotated view of the center cap model within Cura, allowing for inspection from different angles before printing.
Adjusting print settings within Cura, such as layer height and infill, to fine-tune the print quality and material usage.
Printing and Post-Processing
After slicing your model and exporting the G-code file (usually to an SD card or via USB connection to your printer), you are ready to print. Load the filament into your printer, ensure the print bed is level, and start the print job. Monitor the printing process, especially during the initial layers, to ensure everything is going smoothly.
The display screen of an Ender 3 3D printer, showing print progress and allowing for on-the-fly adjustments during the printing process.
Once the print is complete, carefully remove the part from the print bed. Depending on the design and slicer settings, you may need to remove support structures. You can then perform post-processing steps, such as sanding, painting, or applying a clear coat, to achieve the desired finish for your 3D printed interior car part.
A 3D-printed trim piece designed for a Miata interior, showcasing a successfully printed and installed car part.
Examples of 3D Printed Interior Car Parts
The range of interior car parts you can 3D print is surprisingly broad. Here are just a few examples to spark your imagination:
- Dashboard Trim and Bezels: Replace cracked or faded trim pieces around your radio, vents, or instrument cluster.
- Center Console Components: Create custom storage solutions, cup holders, or replace broken console lids and buttons.
- Vent Components: Design custom air vent направляющие or replace broken vent louvers.
- Knobs and Buttons: Fabricate replacement knobs for radio controls, window switches, or climate controls.
- Door Panel Parts: Print clips, handles, or trim pieces for door panels.
- Custom Gauges and Pods: Design unique gauge pods or housings for aftermarket gauges.
A variety of colored PLA filaments, demonstrating the wide color palette available for 3D printing and customization.
A 3D-printed center cap designed for aftermarket Mustang wheels, highlighting the ability to create custom cosmetic car parts.
Conclusion
3D printing interior car parts is no longer a futuristic fantasy but a practical and accessible reality for car enthusiasts and DIYers. Whether you’re looking to repair broken components, customize your car’s interior, or restore a classic vehicle, 3D printing offers a powerful and cost-effective solution. With a relatively small investment in a 3D printer and some readily available materials, you can unlock a world of creative possibilities and take your car customization and repair skills to the next level. So, embrace the technology, explore the online resources, and embark on your 3D printing adventure to transform your car’s interior.