Is a crucial plastic component of your beloved classic car, after decades of sun exposure and wear and tear, finally given up the ghost? Finding replacement interior or trim pieces for older vehicles can often feel like searching for a needle in a haystack, and even when you do locate them, the price can be exorbitant, with no guarantee against future fragility. Imagine having a device that could, with a few simple commands, conjure up an exact replica of that broken part, much like the replicators in Star Trek.
Well, the reality is closer than you might think. With the advent of affordable 3D printing technology and vast online repositories of open-source designs, creating car parts at home is not just a futuristic fantasy, but a tangible solution, especially for sourcing 3d Printing Old Car Parts.
Think about the possibilities: crafting a new cold-air intake system, designing custom body enhancements, or even fabricating specialized tools to tackle intricate mechanical repairs. Enthusiasts have even successfully 3D-printed entire hardtops for cars like the Miata, demonstrating the sheer potential of this technology. The only true limits are your creativity and your proficiency in the realm of 3D modeling. Even established automotive platforms have embraced this technology to maintain and restore vintage vehicles.
Thanks to the maturation of consumer-grade 3D printers over the last decade, the initial investment has significantly decreased. A capable 3D printer can now be acquired for under $300, making it an accessible addition to any DIY mechanic’s toolkit. This guide will walk you through the initial steps to embark on your journey of 3D printing car parts, specifically focusing on how this technology can revolutionize the restoration and maintenance of 3d printing old car parts.
Why 3D Printing is a Game Changer for Classic Car Owners
For enthusiasts dedicated to preserving automotive history, the challenge of sourcing old car parts is a constant hurdle. Original components for classic and vintage vehicles are often scarce, leading to inflated prices and lengthy searches. Moreover, the salvaged parts available might be decades old, carrying the risk of being brittle or similarly prone to failure as the original broken piece.
3D printing offers a compelling alternative by providing:
- On-Demand Availability: No more scouring junkyards or waiting for specialized suppliers. You can produce the part you need, when you need it.
- Cost-Effectiveness: Compared to expensive, rare, or custom-fabricated parts, 3D printing can be significantly more affordable, especially for smaller, intricate components.
- Customization and Precision: 3D printing allows for precise replication of original parts or even design modifications for improved functionality or aesthetics. This is particularly valuable for 3d printing old car parts where exact matches are critical.
- Empowerment: Take control of your car restoration and maintenance by becoming your own parts manufacturer.
Getting Started: Essential 3D Printing Gear
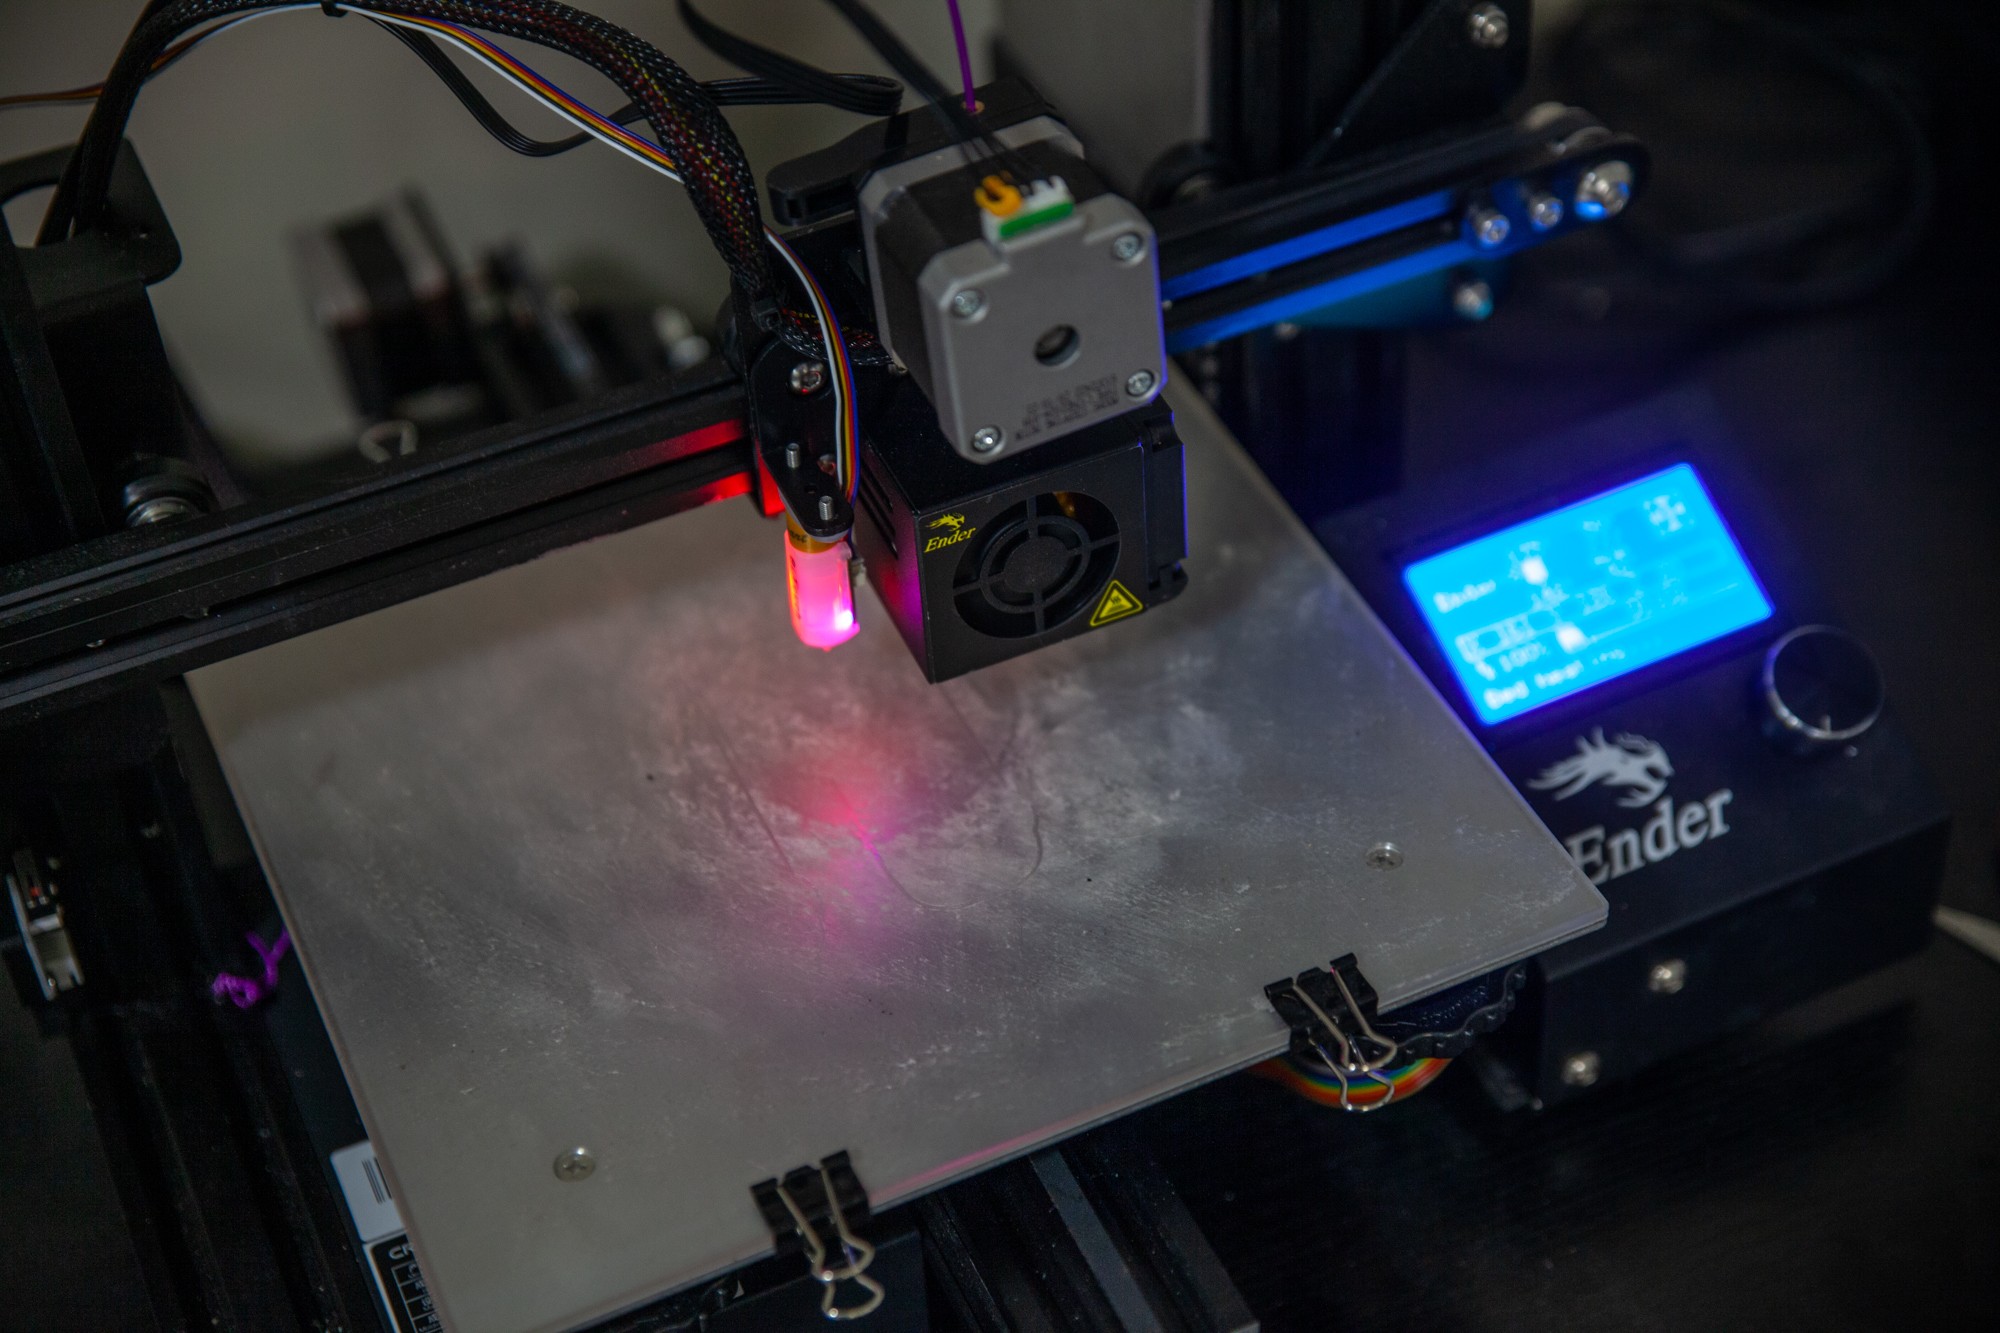
For creating 3d printing old car parts, the most accessible and beginner-friendly type of 3D printer is the Fused Deposition Modeling (FDM) printer.
Choosing the Right 3D Printer
FDM printers are ideal for automotive applications at the entry-level, melting plastic filament and layering it to build objects from the ground up. Within the FDM category, several brands and models exist. A popular starting point is the Creality Ender-3, renowned for its affordability (around $200) and strong community support. While assembly can be a bit involved, the online community provides ample guides and troubleshooting advice, along with recommendations for upgrades like glass print beds for enhanced print quality or auto-leveling sensors.
For a more streamlined, user-friendly experience out of the box, consider models like the Prusa Mini Plus or the Flashforge Finder 3, though these typically come at a slightly higher price point (around $400). These alternatives often offer easier setup and operation, potentially saving time and frustration for beginners.
Filament Materials for Car Parts
Once you have your printer, you’ll need filament, the plastic feedstock for 3D printing. For 3d printing old car parts, the common filament types suitable for entry-level printers include:
- PLA (Polylactic Acid): Economical and easy to print with, PLA is excellent for prototypes and mock-ups. However, its low heat and UV resistance make it unsuitable for under-hood or exterior car parts that experience high temperatures or prolonged sun exposure.
-
ABS (Acrylonitrile Butadiene Styrene): Offering superior heat and wear resistance, ABS is more appropriate for many automotive applications. It’s also reasonably priced, but can be more challenging to print with due to its tendency to warp and shrink as it cools.
-
PETG (Polyethylene Terephthalate Glycol-modified): Striking a balance, PETG is easier to print than ABS while providing better strength and durability than PLA. It also boasts improved heat resistance compared to PLA, making it a versatile option for 3d printing old car parts. PETG typically comes at a higher cost than PLA and ABS.
Finding and Creating 3D Models for Your Classic Car
With your hardware and materials sorted, the next step is obtaining 3D models of the old car parts you need.
Online platforms like Thingiverse, GrabCAD, and Thangs are treasure troves of free downloadable 3D models. For popular classic car models like the Miata or BMW 3 Series, you’ll likely find a wide array of pre-designed parts, ranging from interior trim pieces and repair kits to performance-enhancing components.
If you can’t locate a pre-existing model for your specific old car part, you’ll need to venture into 3D modeling yourself. Software like Fusion 360 (free for personal use) provides powerful tools for designing your own parts. While learning 3D modeling takes time and practice, it unlocks limitless possibilities for creating unique and customized 3d printing old car parts that are unavailable elsewhere.
The 3D Printing Process: From Model to Physical Part
Once you have your 3D model, you need to prepare it for printing using a “slicer” program. This software converts your 3D design into G-code, a language that your 3D printer understands. Cura is a popular and user-friendly slicer program.
Within the slicer, you can configure settings like filament type, print quality, and speed. After finalizing these parameters, the slicer generates the G-code file, which you then transfer to your 3D printer via SD card or USB. Initiate the print, and watch as your virtual design materializes into a tangible old car part, layer by layer.
Conclusion: Reviving Automotive History, One Layer at a Time
3D printing is rapidly transforming the landscape of car restoration, offering a powerful and accessible method for creating 3d printing old car parts. It empowers classic car owners to overcome parts scarcity, reduce costs, and personalize their vehicles in unprecedented ways. As you delve into the world of 3D printing, you’ll discover the immense satisfaction of bringing digital designs into the real world and, more importantly, keeping automotive history alive and on the road. Embrace the technology, experiment, and unlock the potential of 3D printing to revitalize your classic ride.